“Mushy” Tree: Free Crochet Mushroom Topiary Pattern

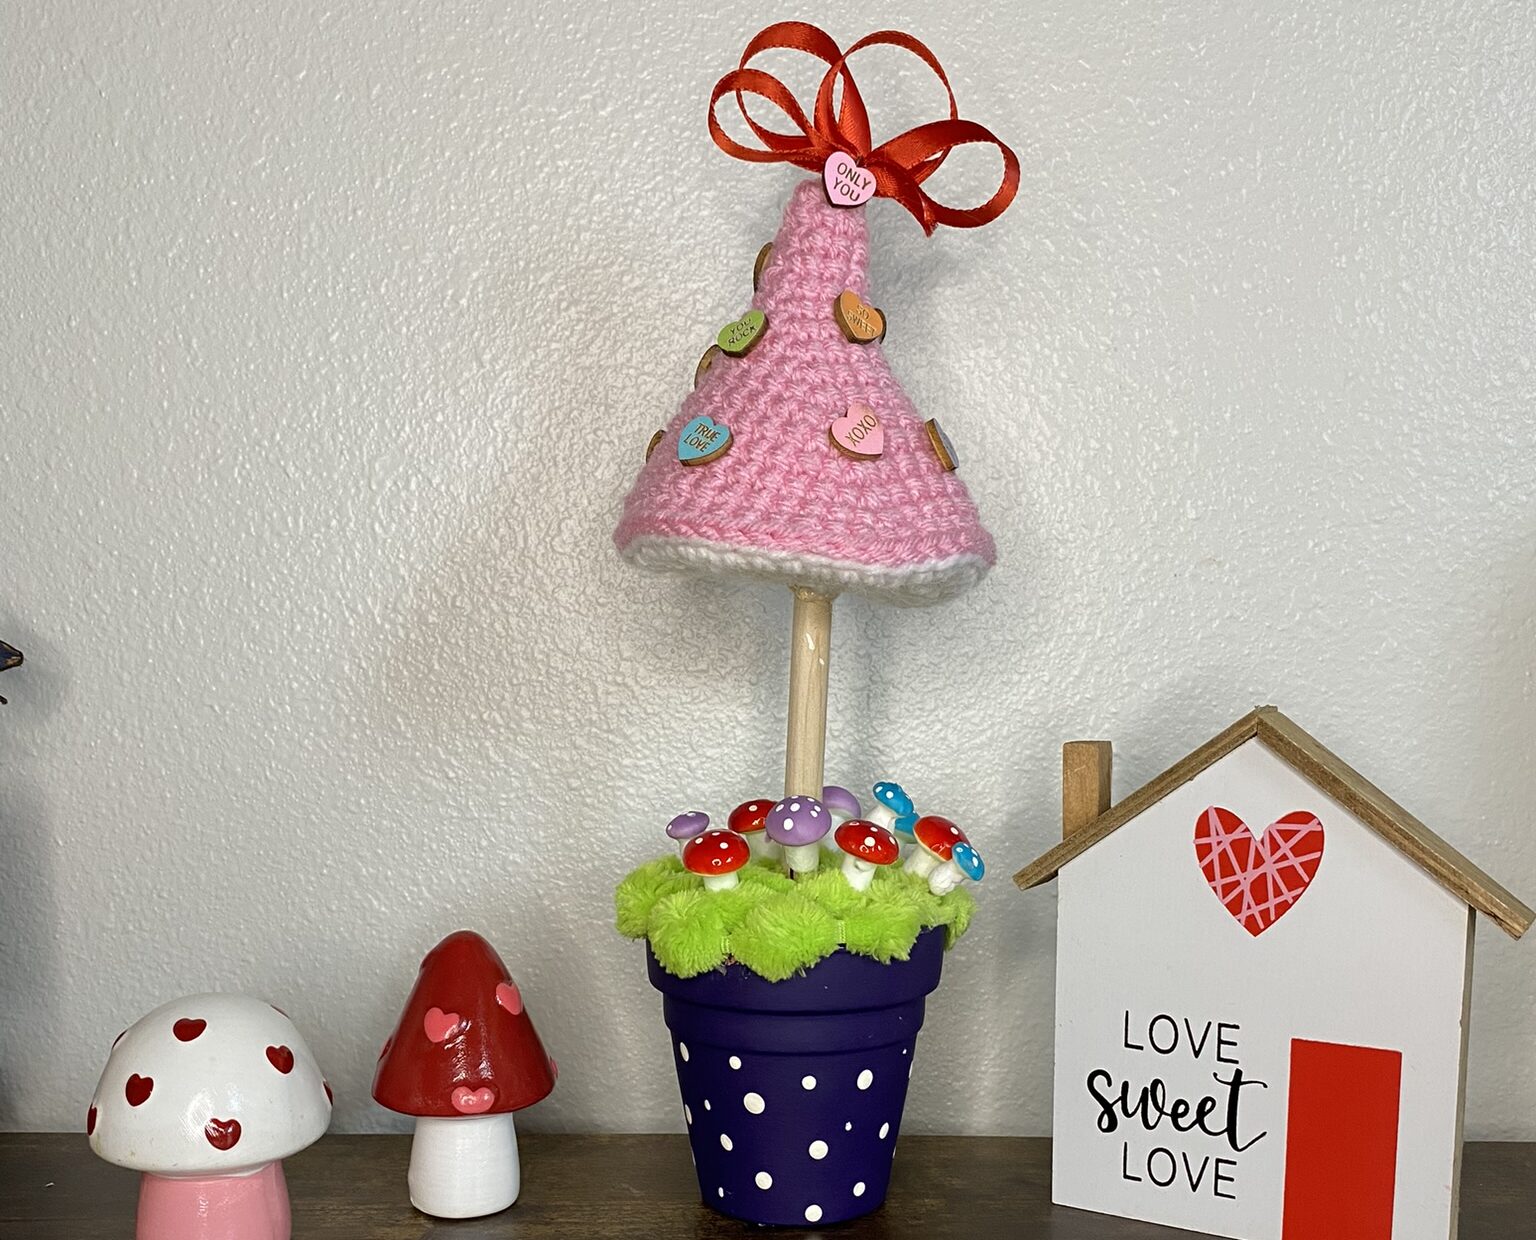
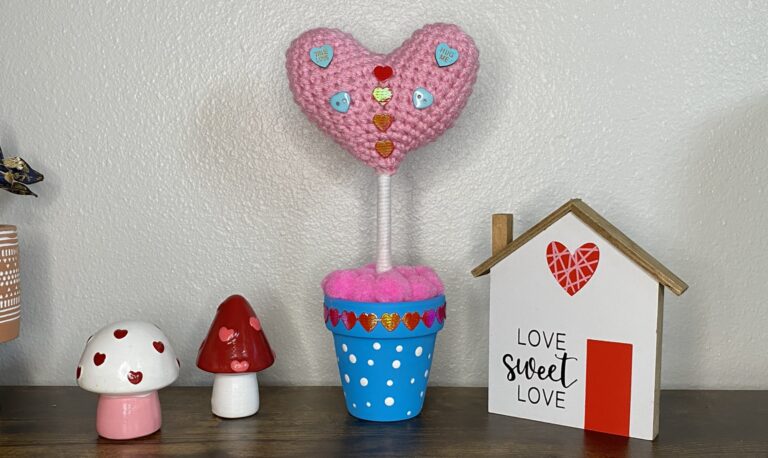
As Valentine’s Day draws near, the air is filled with whispers of affection, echoed in the timeless messages of Conversation Hearts. “Be Mine,” “Cute,” “Kiss Me” – these mushy phrases evoke memories of innocent declarations of love. It’s a sentiment that resonates deeply, especially for those of us enchanted by the nostalgia of vintage treasures. When you combine classics such as Conversation Hearts and the ever-popular mushroom mania, you have the perfect combination to create a whimsical craft perfect for a decoration or gift. Prepare to fall in love with my latest creation: the “Mushy” Tree – a free crochet mushroom topiary pattern that’s as enchanting as it is adorable.
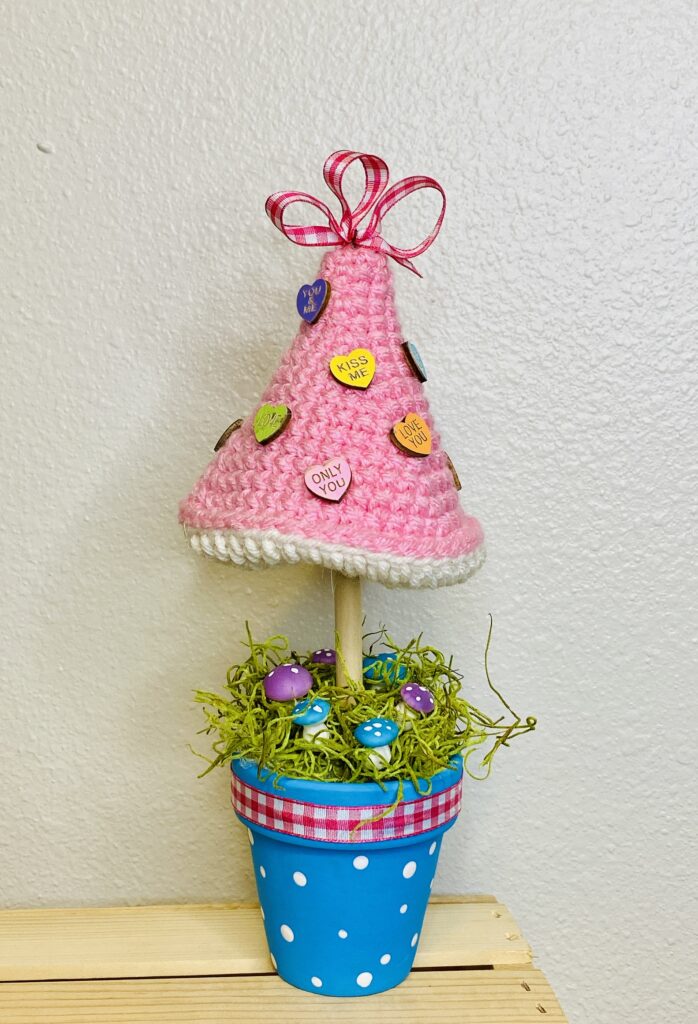
This crochet mushroom pattern is a larger version of my Little Crocheted Mushroom Pattern. Making it into a tree is not a new idea… I also used that pattern to create a Little Crocheted Mushroom Christmas Tree. While I was creating that tree, I came across some tiny wooden Conversation Hearts I had used on a gnome’s hat. It was then that I envisioned this Valentine topiary and knew I would be creating this free crochet mushroom topiary pattern.
The Crocheted Mushroom Pattern
Supplies:
- Yarn: Pink or Red, and White
- F (3.75mm) hook
- Stitch marker
- Yarn needle
- Stuffing
Abbreviations:
- MR: magic ring
- RND(s): round, rounds
- SC: single crochet
- INC: increase
- SlSt: slip stitch
- HDC: half double crochet
- DEC: decrease (use the invisible decrease)
- BLO: back loops only
Instructions:
Pattern is worked in the round, using the yarn-under method.
- R1: MR 6 SC (6)
- R2: SC around (6)
- R3: *SC, INC* around (9)
- R4: SC around (9)
- R5: *SCx2, INC* around (12)
- R6: SC around (12)
- R7: *SCx3, INC* around (15)
- R8: *SCx4, INC* around (18)
- R9: *SCx5, INC* around (21)
- R10: *SCx6, INC* around (24)
- R11: *SCx7, INC* around (27)
- R12: *SCx8, INC* around (30)
- R13: *SCx9, INC* around (33)
- R14: *SCx10, INC* around (36)
- R15: *SCx11, INC* around (39)
- R16: *SCx12, INC* around (42)
- R17: Loosen tension. SC around (42)
- Bring in White
- R18: SlSt in the Lower Back Loop around. (27)
- R19: HDC in the BLO around (27)
- R20: *HDC, HDC DEC* around (14)
- Stuff the mushroom, leaving a space in the center for the dowel.
- R21: SC DEC around (7)
Topiary Instructions
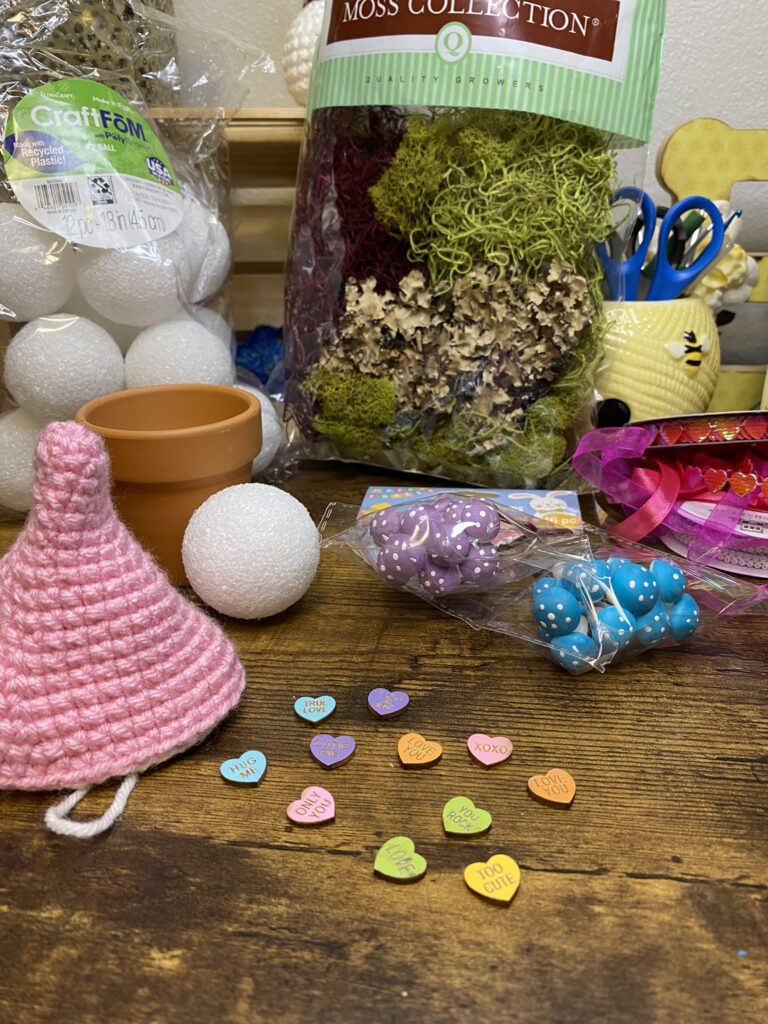
Supplies:
- Terra Cotta pot 2.5-3″
- Styrofoam piece
- 1/4″ Wooden Dowel
- Moss or Easter Grass
- Wooden Conversation Hearts (I got mine at Hobby Lobby)
- Hot Glue Gun
- Embellishments such as miniature foam mushrooms, ribbons, etc…
- Paint (acrylic or chalk)
- Paintbrush
- Utility Knife to shape your foam
Paint the topiary pot
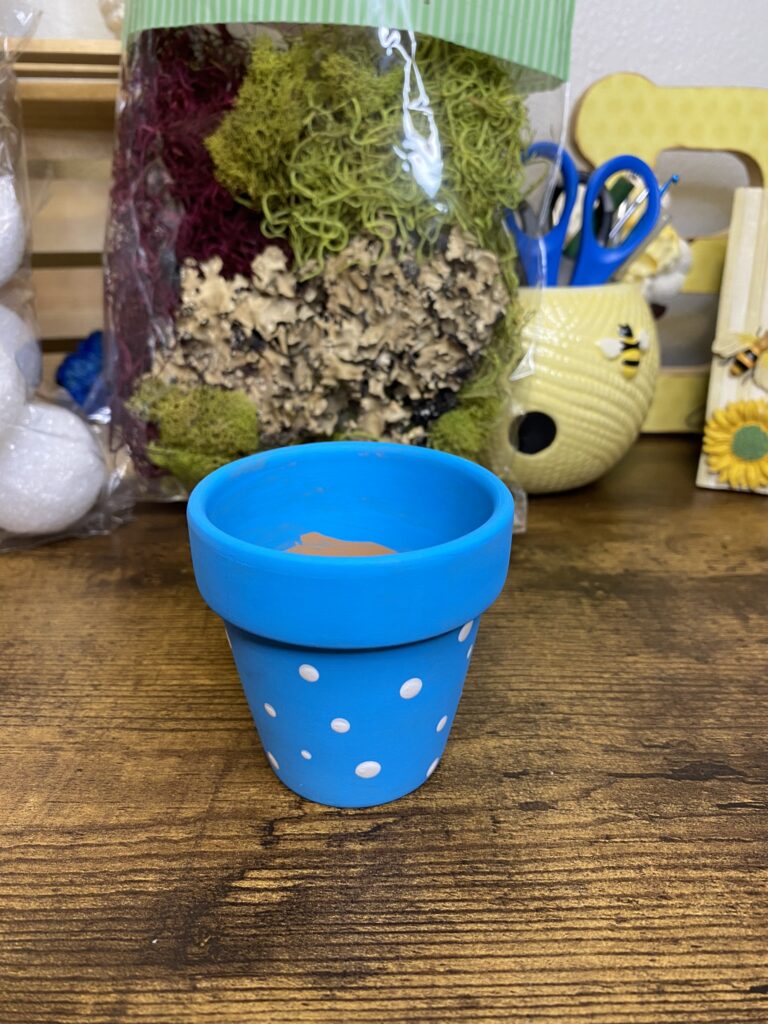
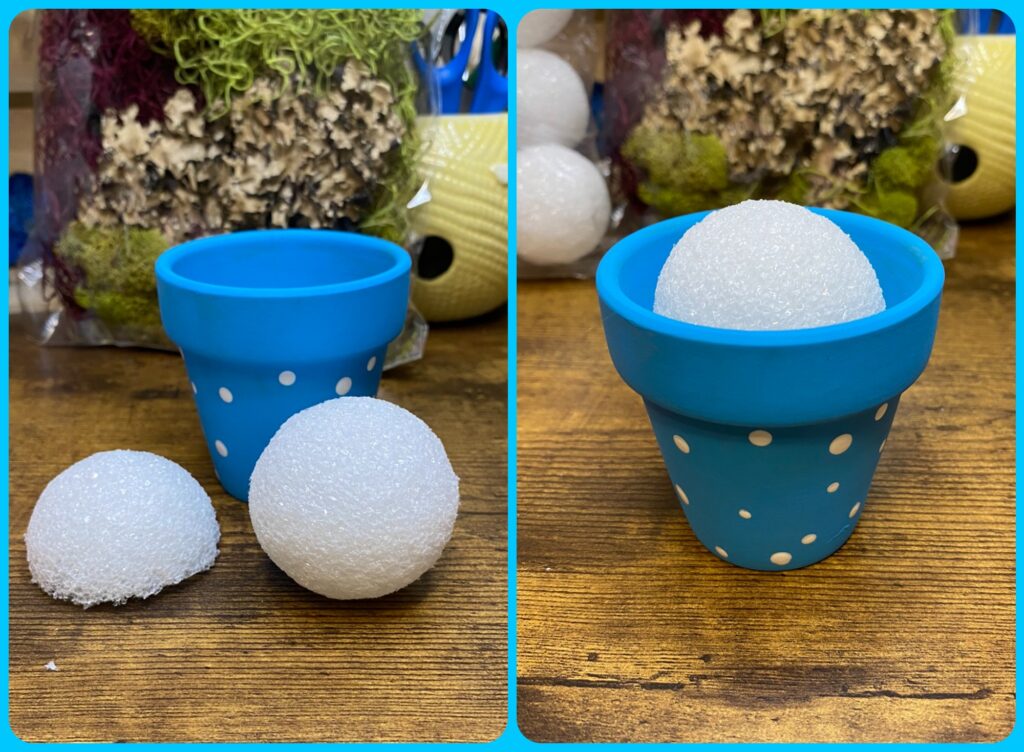
First, paint your pot using acrylic or chalk paint (I used acrylic) and a wide brush. Since terra cotta seems to soak up the paint quickly, you can dry brush on the paint or wet your brush then wipe on paper towels to remove most of the water. Additionally, it only took one coat for me to cover mine, and it was dry and ready in minutes. Be sure to also paint the inside of the pot down to where your foam will be. See photo for my example. To make the dots, simply use the end of your brush handle dipped into the white paint. Dot onto the pot. If you want uniform dots, you will need to dip with each dot. These will take a bit longer to dry. Finally, if you want to put ribbon around the top of your pot, do so at this point. Use hot glue to adhere.
Add your embellishments for your pot
When your pot is dry, insert your Styrofoam into the pot. I had Styrofoam balls on hand, so I used 1 1/2. Stuff them into the pot, hot gluing them together. You will want to add in smaller pieces to fill in the top at this point. I did not, but realized later that this is where I should have.
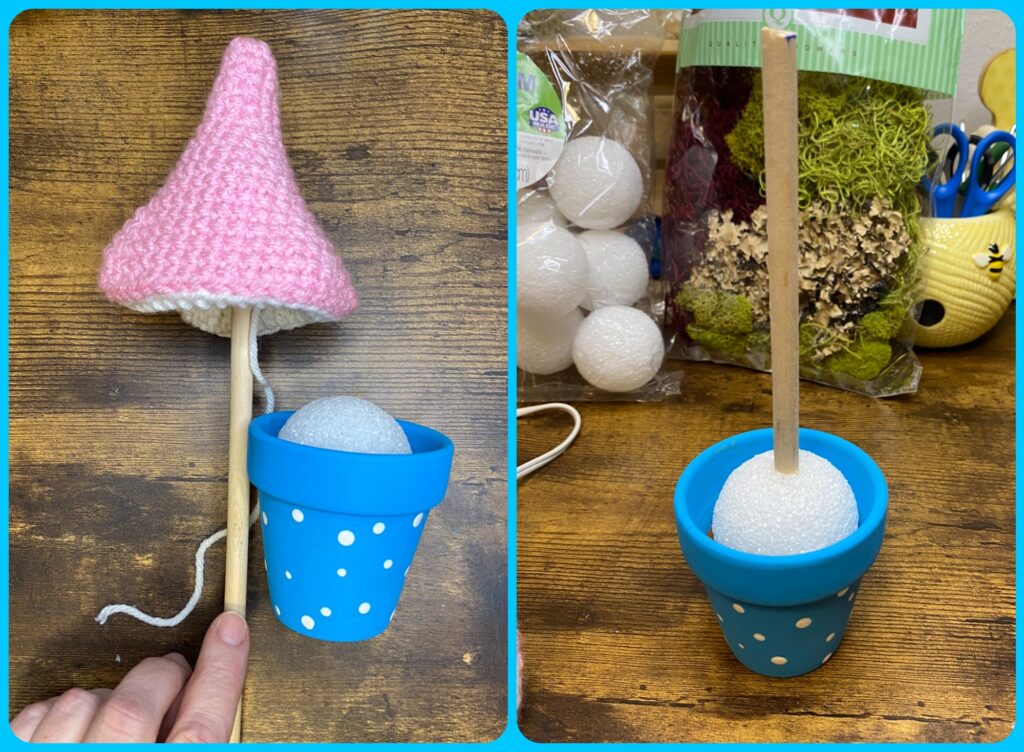
Now, measure and cut your dowel rod. Next, insert one end of your dowel into your mushroom. To decide where to cut it, place it beside your pot where there is about 1 1/2″ between the foam and the mushroom. Then, mark at the bottom of the pot (where my finger is pointing in the photo). After that, remove the mushroom and cut at the mark. Finally, insert the dowel into the foam.
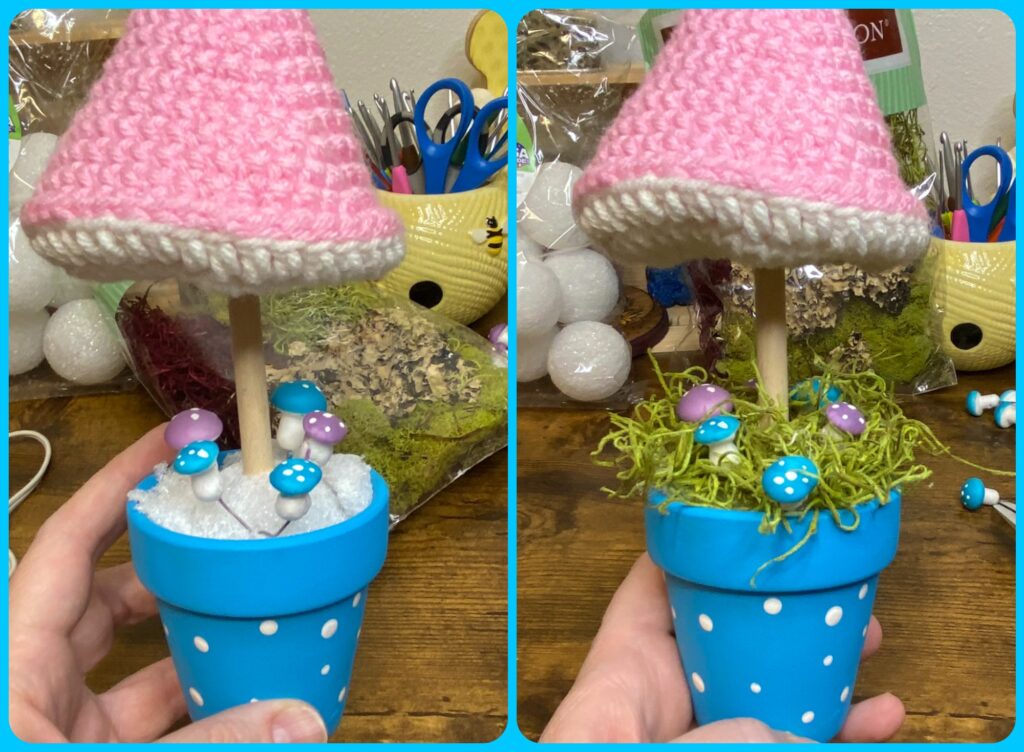
Next you will add your embellishments to the pot such as moss, grass, mushrooms, etc… If you are using anything on a stem, add that into the foam first, then hot glue your moss/grass around them. Use a silicone finger cover or a dowel piece to push the moss into the hot glue. It will burn your fingers! Your pot is now complete.
Adding the crocheted mushroom
Go ahead and add some stuffing into your mushroom, working from the outside in. Additionally, keep in mind that your dowel will be in the center and into the tip. Once completed, place your mushroom on the dowel and continue to stuff it until it has a good shape. Pull your tail tight and knot it. Next, using a needle, pull the tail through the mushroom and trim it. Finally, use a dot of hot glue to make sure the bottom of the mushroom stays in place.
Now it’s time to add those “mushy” conversation hearts onto the mushroom. Carefully hot glue them on. For a tree topper, I added a few ribbon loops onto a wire from the mushrooms, inserted it into the top and glued it to secure
That’s it!
As we conclude this whimsical crafting project, I hope you’ve enjoyed every moment of bringing your own “Mushy” Tree to life. These topiaries would make such unique gifts for teachers, coworkers, or dear Grandma as a token of your affection. Also, it’s an ideal group activity.
Click here to see more Valentine’s Day ideas.
