Crochet Heart Topiary
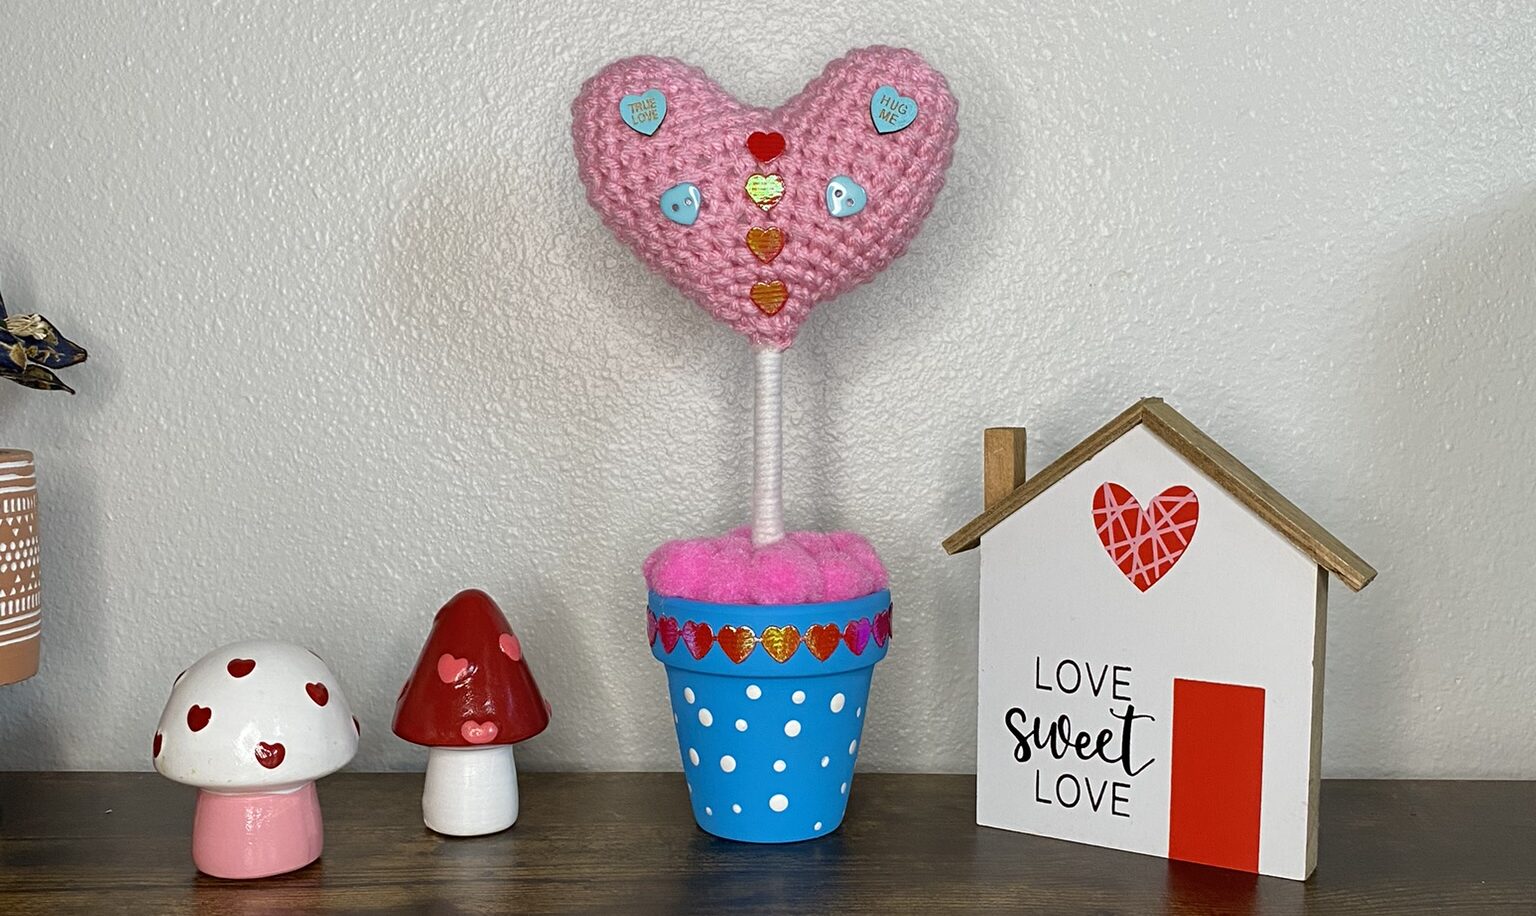
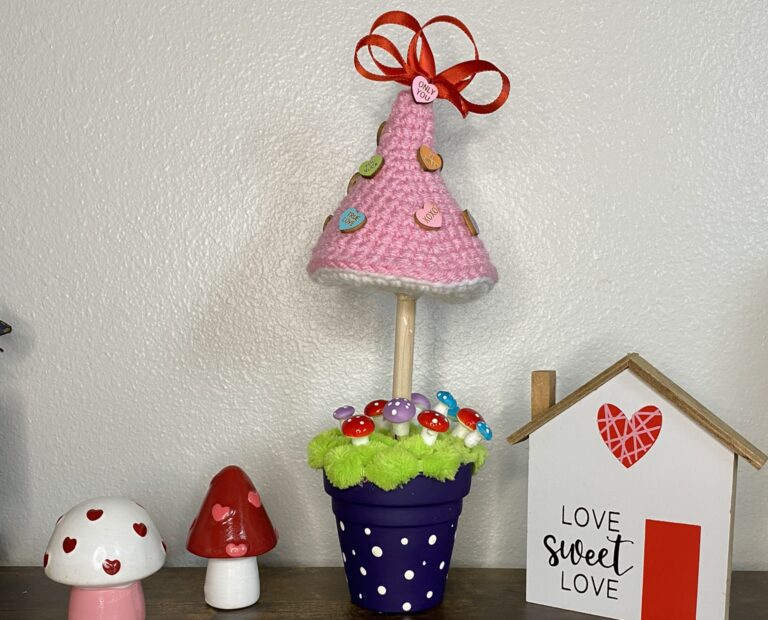
I am so obsessed with topiaries with crocheted tops right now! Once I made the crocheted mushroom topiary with conversation hearts I knew I also had to make one with a crocheted heart. Thus, this free pattern/tutorial for a Crochet Heart Topiary was created.
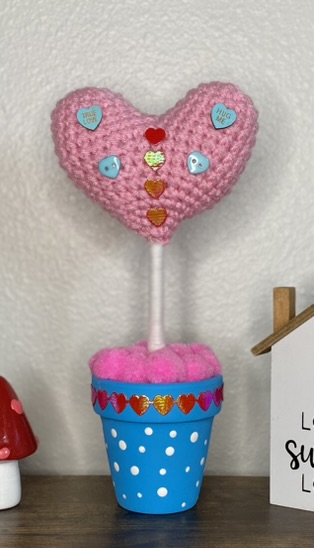
I love crocheted hearts. The look of those beautiful stitches, the softness of the yarn, and the fact that they are handmade by loving hands all give vintage vibes that exclaim loving sentiments. Using the crocheted heart to create a potted topiary gives a unique, one of a kind piece to use as part of your Valentine decor, or as a gift to a special someone.
Want to know the best part of this craft? The fact that you can see what I made, then use your own creativity and supplies you may already have on hand to fashion your own crochet heart topiary masterpiece that reflects YOU!
Crochet Heart Pattern
Supplies:
- Medium/4 weight acrylic yarn (I used I Love This Yarn from Hobby Lobby)
- 3.75mm (F) hook
- Basic amigurumi supplies
You can use different yarn for this project, just be sure to adjust your hook size if necessary!
This pattern is worked in the round with no joins using single crochet stitches.
Heart Tops (make 2)
- R1: MR 6SC (6)
- R2: INC around (12)
- R3: *SC, INC* around (18)
- R4-6: SC around (18)
- Fasten off your first one. Leave a 5-6″ tail. Leave your stitch marker in.
- R7: After completing R6 on the second top, SC into the st with the stitch marker of the first top (connecting the two) and mark that st. SC around that top and then continue around the other top. (36)
- R8: SC around (36)
- Use the tail of that first top to sew the hole between the tops closed.
- R9: *SCx4, DEC* around. (30)
- R10: SC around (30)
- R11: *SCx3, DEC* around (24)
- R12: SC around (24)
- R13: *SCx2, DEC* around (18)
- R14: SC around (18) Stuff heart.
- R15: *SC, DEC* around (12)
- R16: SC around (12) Stuff the rest of the heart.
- R17: DEC around (6)
- Cut a tail and using a needle, weave the end through the front loops of R17.
- For topiary, leave tail without tightening for later.
- If only making the heart: pull tail tight to close. Tie off and weave through the heart a few times. Trim.
Topiary Tutorial
Supplies:
- Terra Cotta pot 2.5-3″
- Foam Balls or Square Piece
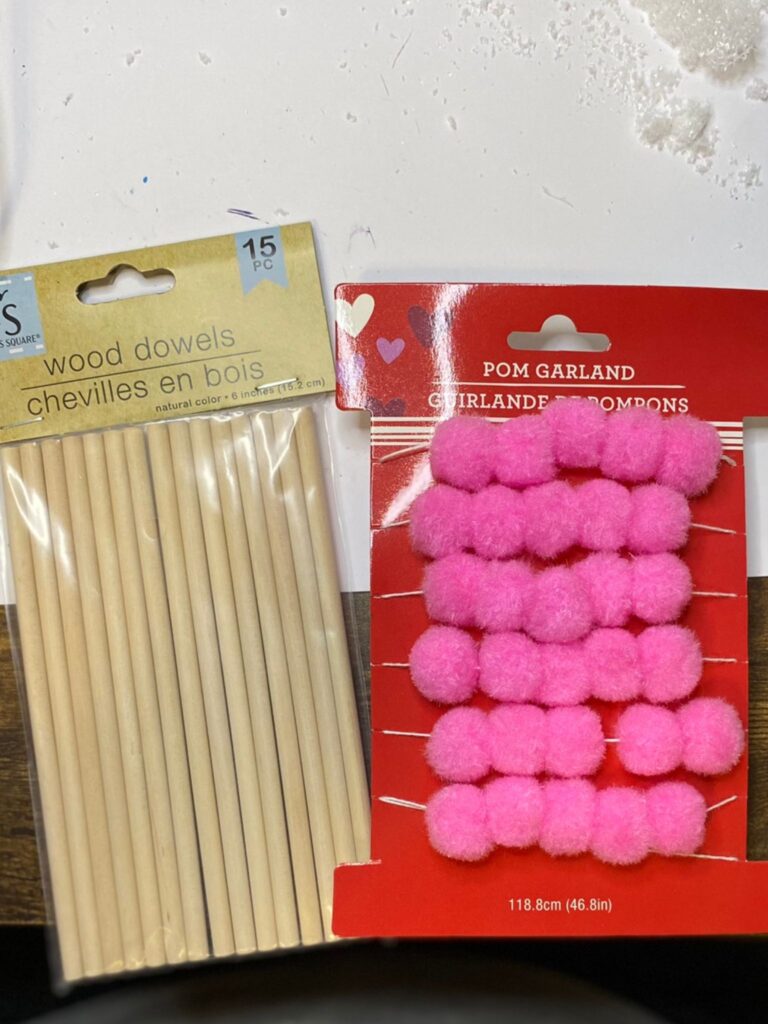
- Wooden Dowel (from The Dollar Tree)
- Pom Garland (from The Dollar Tree)
- Other embellishments (your choice) such as mini conversation hearts, buttons, ribbons…
- Hot Glue Gun
- Acrylic Paint
- Paintbrush
- Utility Knife to shape your foam
Prepare the Pot
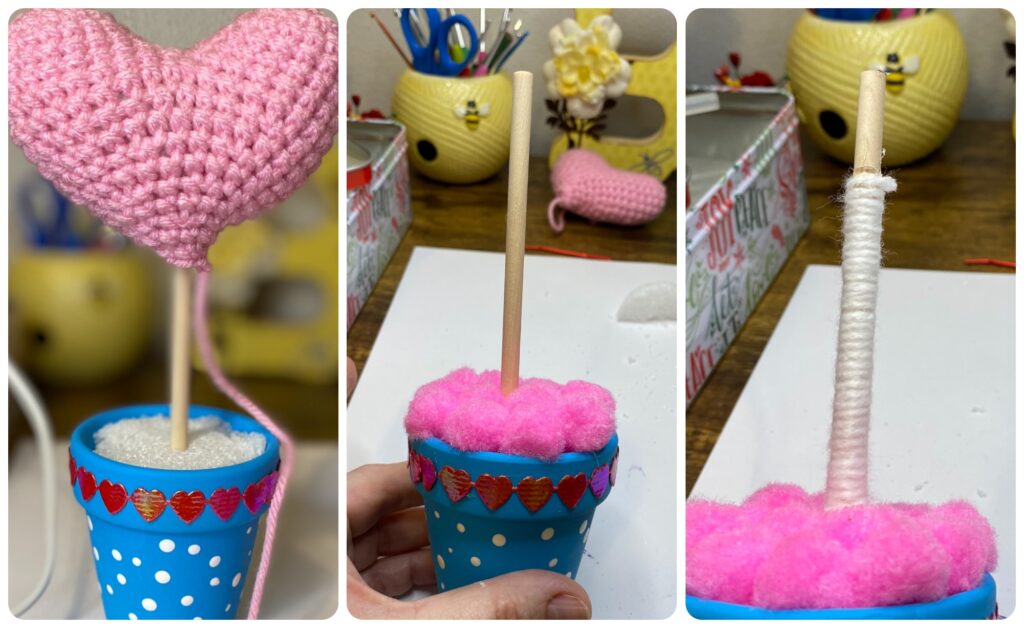
The first step is to paint your pot. A dry brush is best. The clay will absorb the paint and it will dry very fast! Once your pot is dry, you can add dots as accents just by turning your paintbrush over, dipping the end in paint, and dotting it on your pot.
Next you will need to add your foam. According to what size/shape foam you are using, you may need to add more, or cut some off of your foam to fit into the pot. You will want your foam to be flush with your pot.
Now add your dowel. If you are using the dowel from The Dollar Tree, there is no need to cut it. It is the PERFECT size! Just push it down into your foam. Use a pencil to mark where the dowel is at the top of the foam. Next, put your crochet heart onto the top of the dowel and mark where the bottom of the heart is on your dowel. Pull your dowl out and wrap it with yarn. Just tie a knot around your mark, the wrap it up to the top mark. Tie another knot. Trim both knots. Place your dowel back into the foam.
If you are adding ribbon to your pot, do so now using hot glue.
Finally, add those poms to the top of your pot using hot glue. I only took off one row at a time of the pom garland from The Dollar Tree so that I could leave the unused part of the garland on the card. Your pot is now ready to complete the topiary!
Assembling the Crocheted Heart Topiary
This last part is the easiest! Simply place the crocheted heart onto the top of the dowel. Use the tail to pull the tip of the heart down the dowel, then use it to pull the opening of the heart closed. Tie off and weave through the heart a few times. Trim.
Use your hot glue around the tip of the heart to adhere it to the dowel. Then use your hot glue to add those embellishments you chose to your heart. Voila, your Crochet Heart Topiary is now complete!
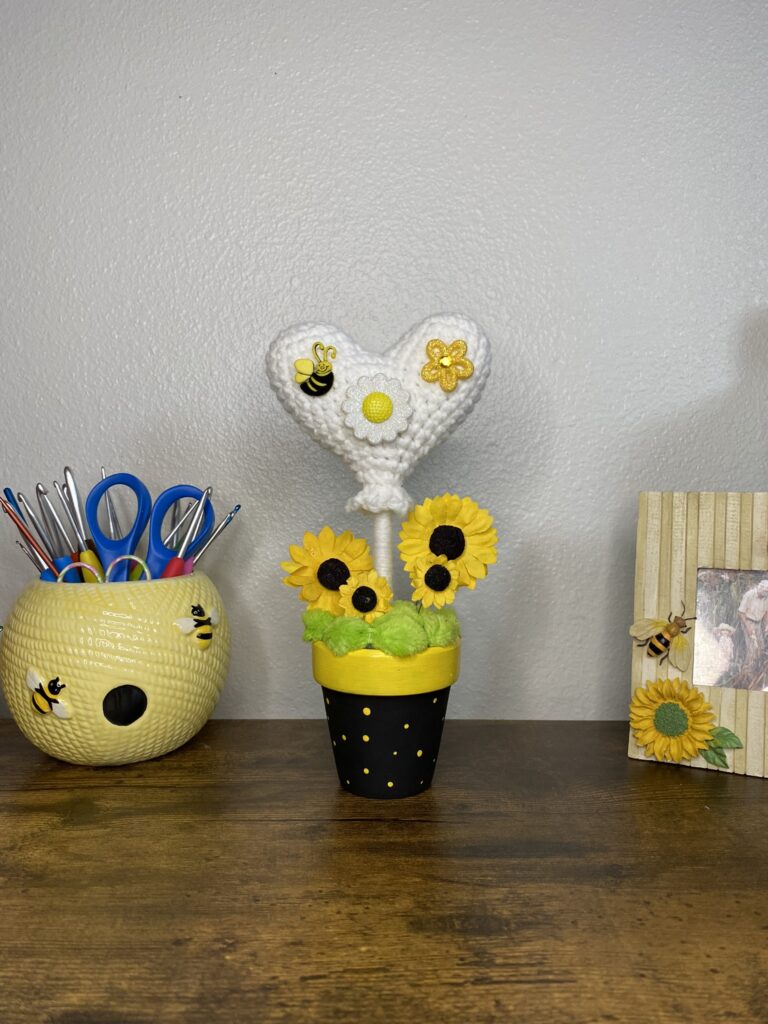
I hope you have enjoyed making this project! It would even be a fun group project. Be sure to tag me on social media so I can admire your creations!
To see more Valentine ideas: click here.
