Carrots from the Dollar Tree get a makeover
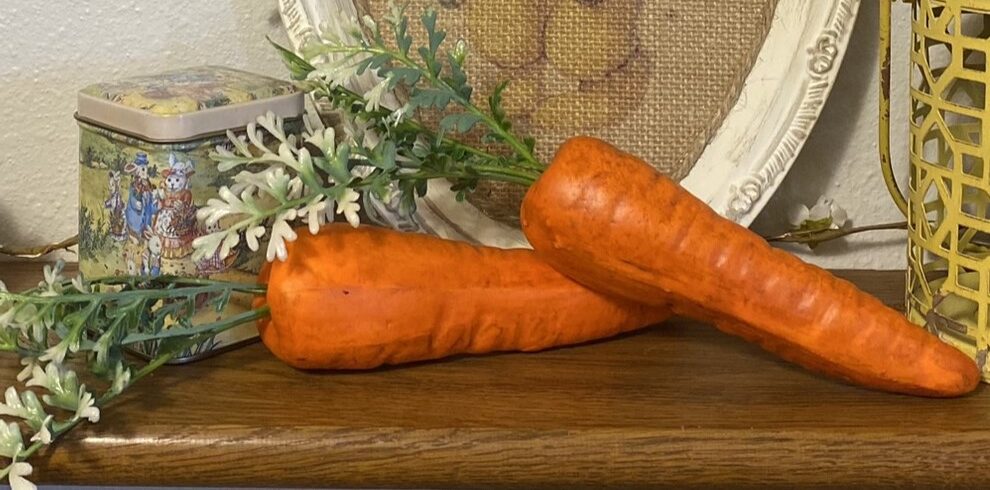
I love a good deal, don’t you? The Dollar Tree has really upped their game in regards to the quality of their items. On a recent trip to a different part of the state, I stopped by their Dollar Tree and was tickled pink to find items I have been unable to find locally as well as some new things I haven’t seen… such as these carrots! I love how they look… the color, shape, and tops are so cute. When they caught my eye while perusing down the floral aisle, I knew they were just what I wanted for some Easter decor. However, they needed a teeny, tiny makeover to give them a more rustic, earthy look. Keep reading to see these carrots from the Dollar Tree get a makeover!
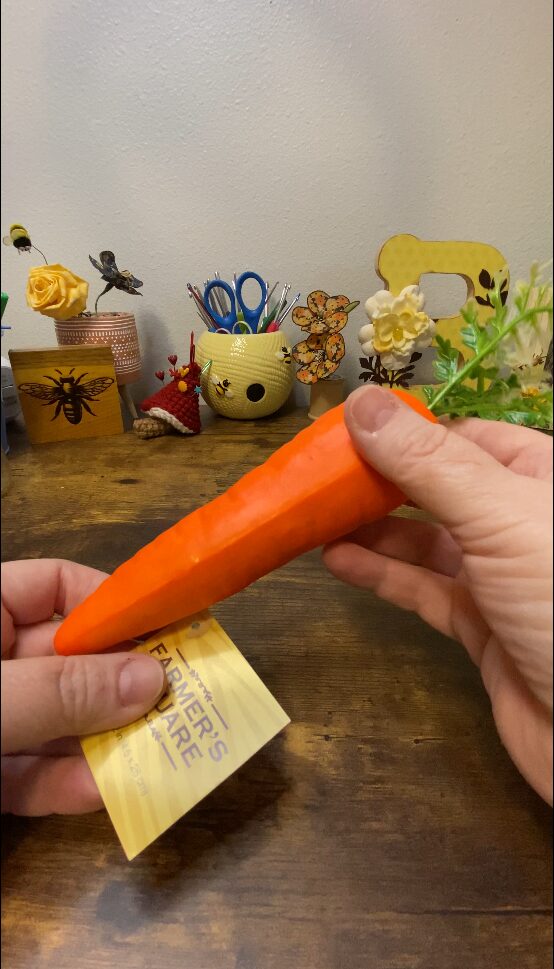
This makeover is such a simple endeavor and if you are a DIY crafter already, you probably have the supplies on hand!
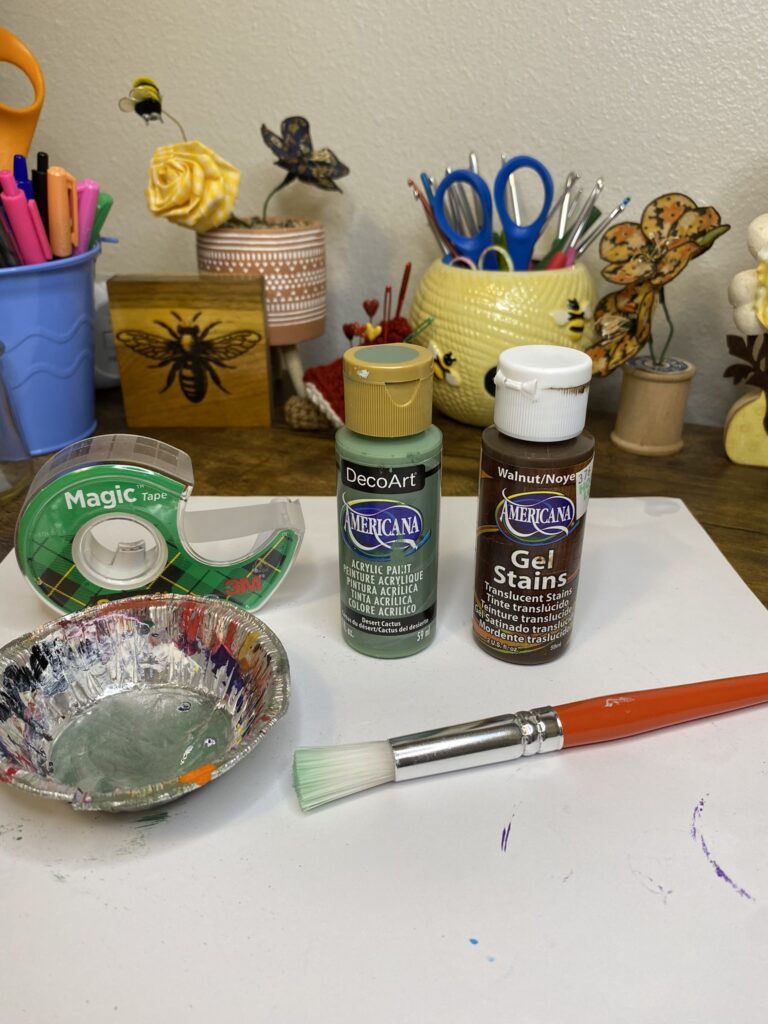
Supplies I used:
- The carrots (of course! lol)
- Gel Stain (mine is from Hobby Lobby)
- Something to cover your work area
- Paper towels
- Wipes
- Optional: if you would like to change the color of the carrot tops
- Acrylic Paint (I used Desert Cactus by Americana) and something to put it in/on
- Stencil brush
- Tape
Instructions for the carrot
Be sure to cover your work area. I just used a sheet of extra scrapbook paper. Double up a paper towel and wrap it around your finger. Apply a dot of the gel stain to the paper towel. Using the paper towel, brush the gel onto the carrot horizontally. Make sure to rub it in the grooves of the carrot well. Don’t forget the top! Then apply more stain vertically. Don’t you love how it looks like it was just picked from the good earth? The wipes are to use on your hands. If you are messy like me, there will be a bit of stain on your hands.

Optional Carrot Top Instructions
I did not love the bright green tops, but I did love the two tones. I decided to make my tops a little more of a sage green. This proved a bit of a challenge. Once my carrot was dry, I spread out my tops and taped the tips down onto my paper. Then I used my stencil brush to dab the green paint onto tops. Unfortunately, they did come loose in the process. I wound up having to just hold the carrot and move the tops around while painting them. It worked out fine. I just had a bit of green to wipe off my hands. Make sure you let the tops dry completely.

And that’s all folks! A simple, quick, easy and fairly cheap way to give carrots from the Dollar Tree a makeover!
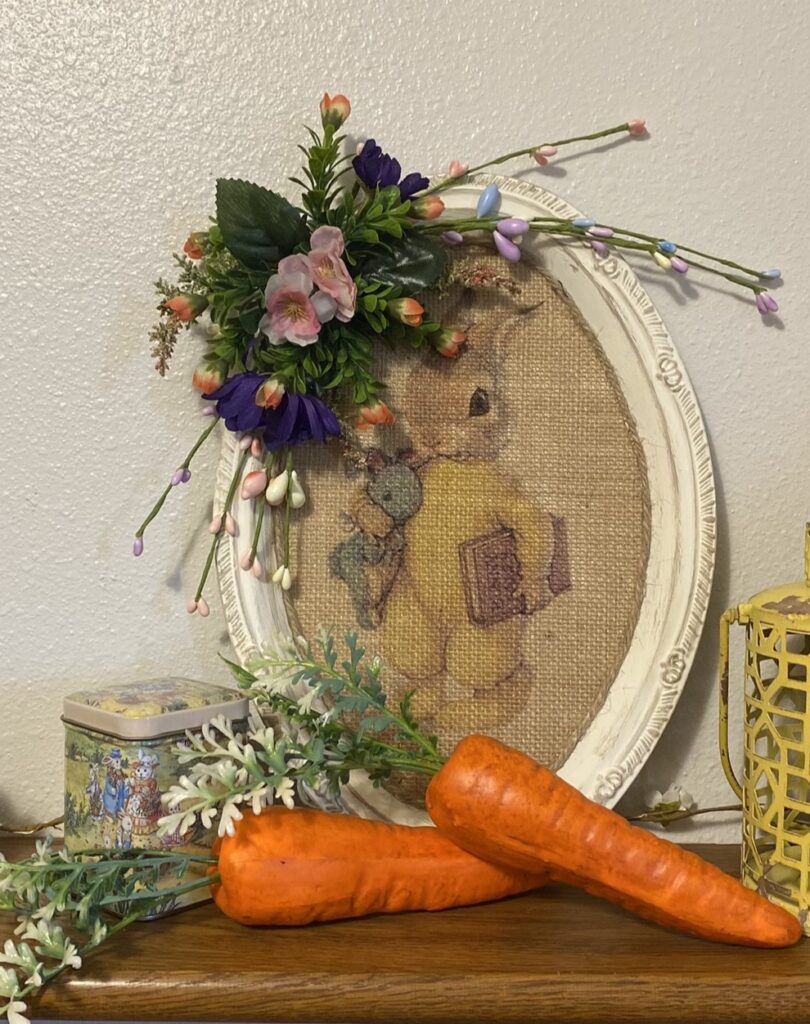
They make the perfect Spring decor accents. Here they are accenting a DIY project from a few years ago. It was not my idea, and unfortunately I cannot find where I got it from! But if I come across it, I will definitely share.
I hope you enjoyed this quick makeover. Hopefully it has given you a bit of inspiration to get on some Spring DIY projects!
To see more Spring projects by me, the WhimZ B, click here.
