FREE Crochet Pattern: Mice Pumpkins
When a friend asked me if I could crochet her some mice pumpkins, I couldn’t resist the challenge! I love finding new ways to add whimsy to my crochet, so I set out to design this free crochet pattern that combines a classic amigurumi pumpkin with sweet mouse ears. The result is a fun, beginner-friendly project that’s perfect for fall decorating, Halloween, or gifting to anyone who adores “certain” Disney characters.
My friend had 2 requests: a set of all orange pumpkins and a set in “their” original colors.
First, I had to design a pumpkin pattern I liked and and then finish the design with the ears. I’m very pleased with the result and hope you will be too!
To make a Mouse out of a Pumpkin…
you need a magic wand and a bit of “Bibbidi, Bobbidi, BOO!” Eh-hmmm… that is to say, a crochet hook, yarn, stuffing and crochet supplies.
My Free Crocheted Pumpkin Pattern is written so that you can use any yarn and hook size… but I must tell you, I have only made the Mouse Pumpkins using acrylic and nothing else, therefore the ears may not be the right size with any other yarn such as blanket or chenille.
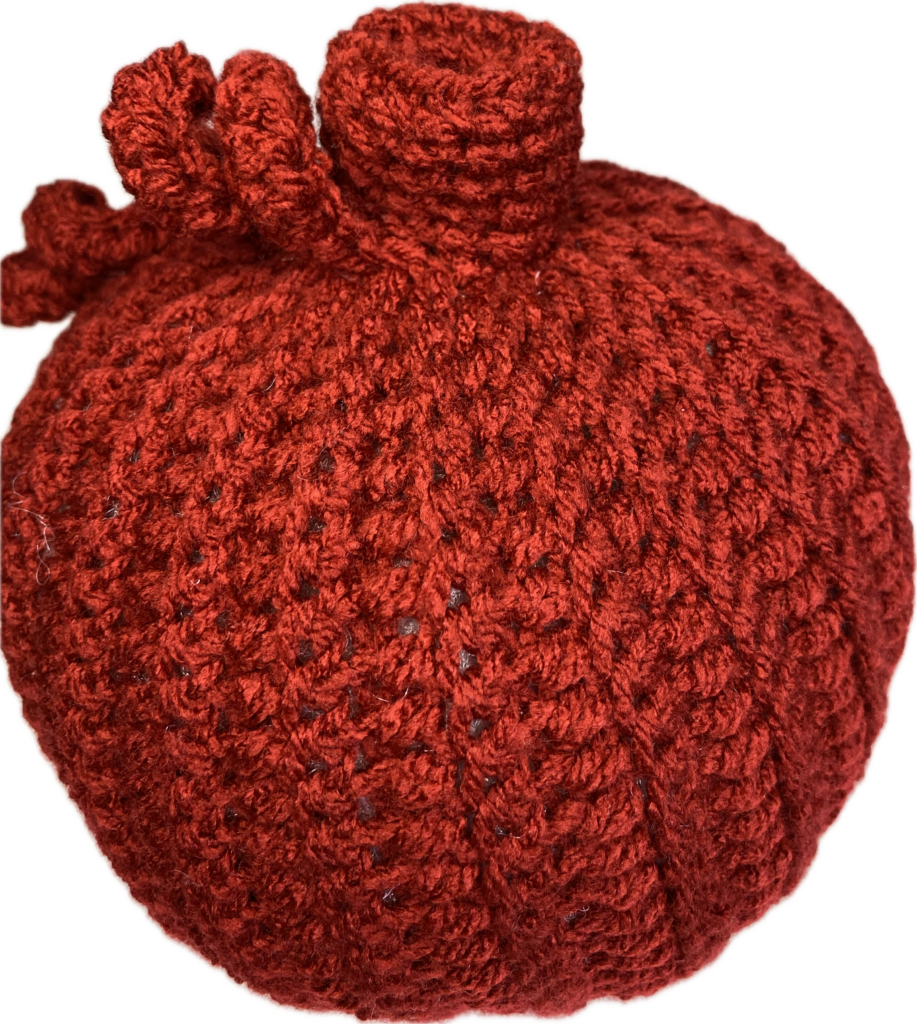
Below are my two examples made with this free pattern for crocheted mice pumpkins as well as the supplies and modifications I used.
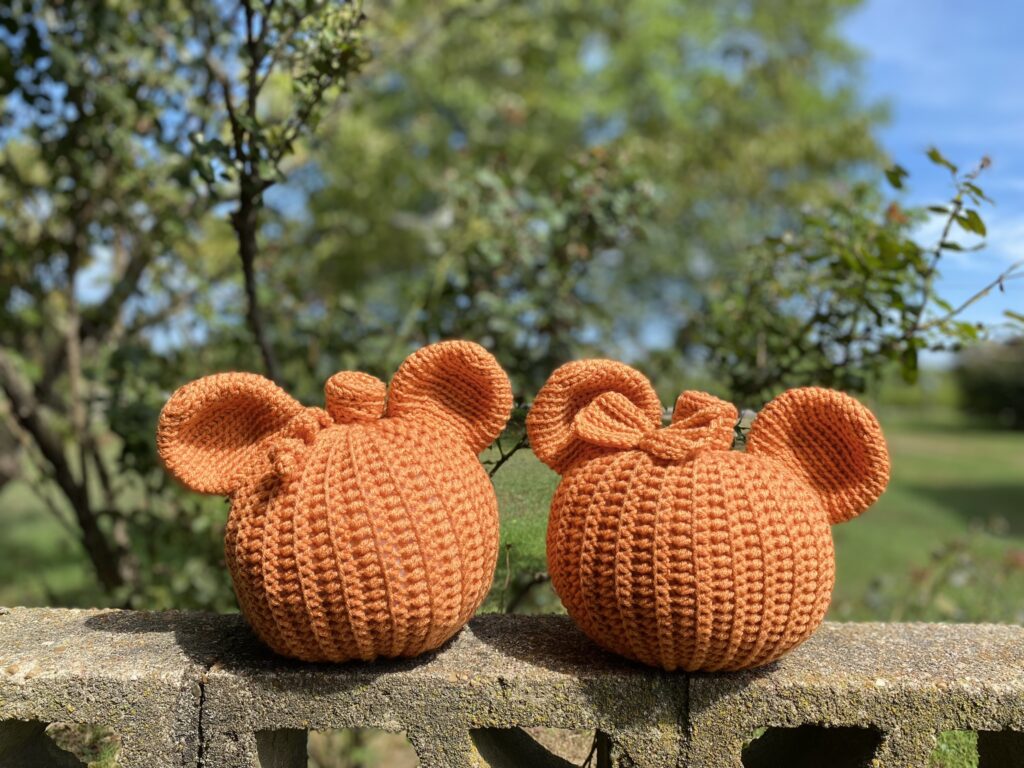
- I Love This Yarn in Desert Glaze
- 4mm hook
- I overstuffed these and as a result there is a lot of stuffing showing.
- Stem: Textured option
- Tendrils: 1 for boy mouse
- Ears: used inserts and worked in BLO
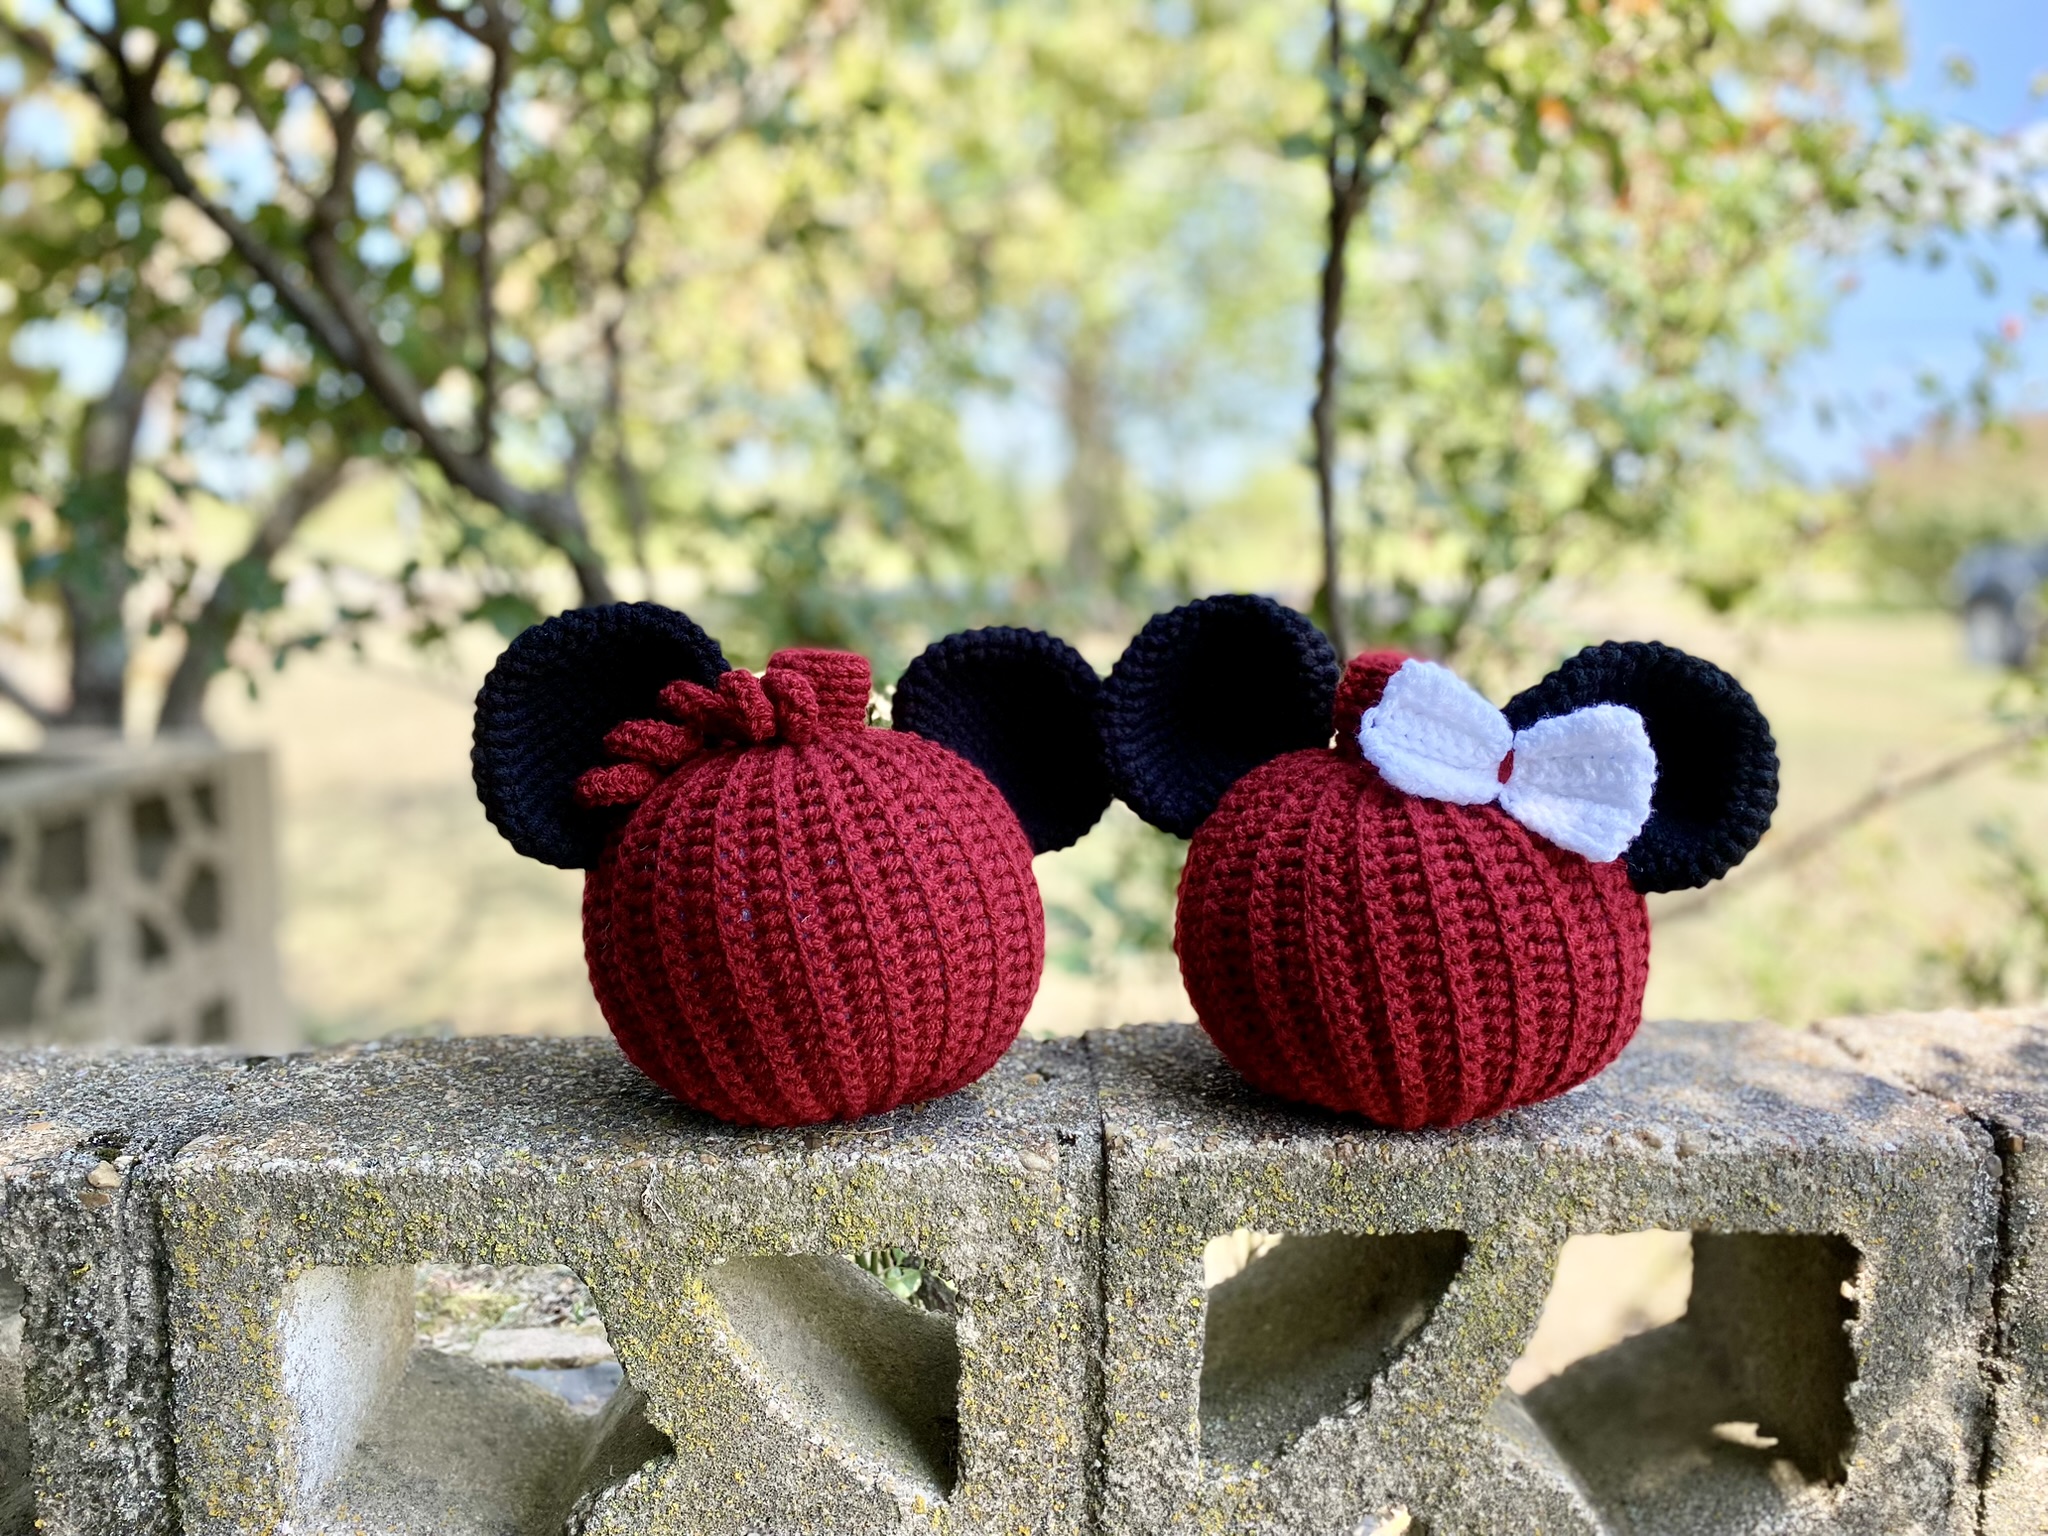
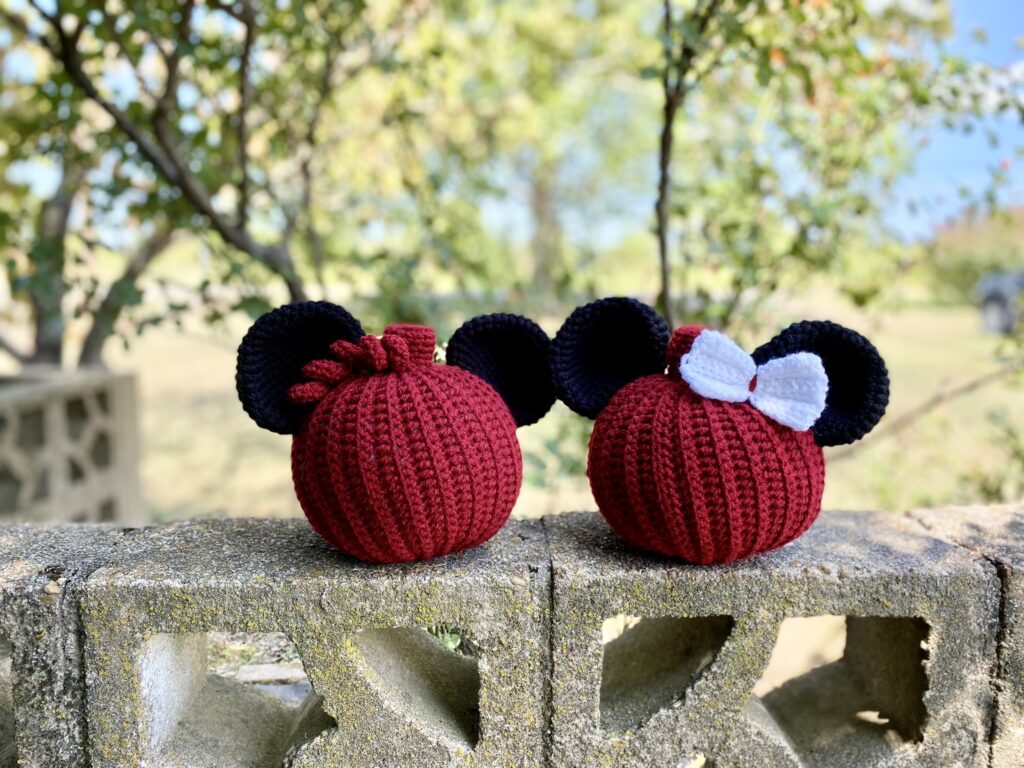
- Premier Just One Pound in Garnet , Black & White
- 4mm hook
- Did NOT overstuff!
- Stem: Smooth option
- Tendrils: Made 2 for boy mouse- 1 full size and 1 half sized
- Ears: No inserts and not worked in the BLO
Crochet the Pumpkin
- Use my FREE crocheted pumpkin pattern with the following specifications:
- Your beginning ch will be 31.
- Your total rows will be 46.
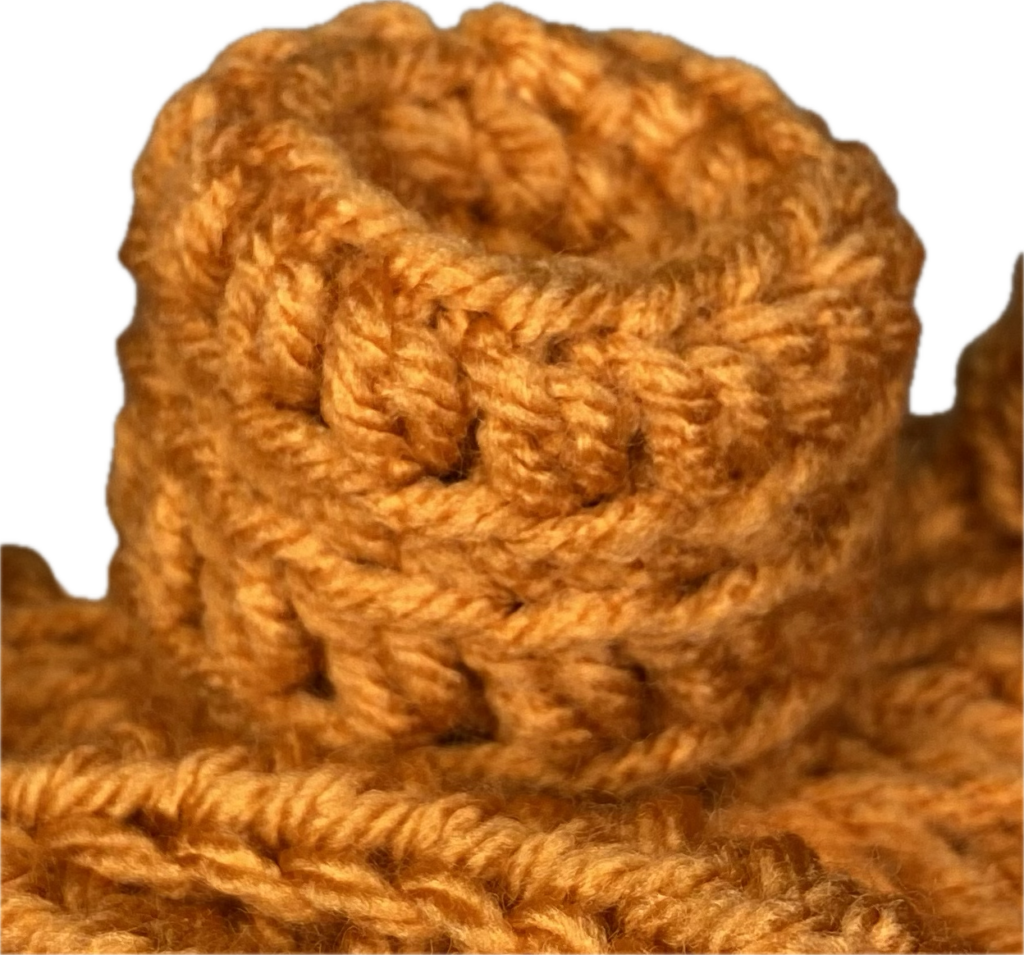
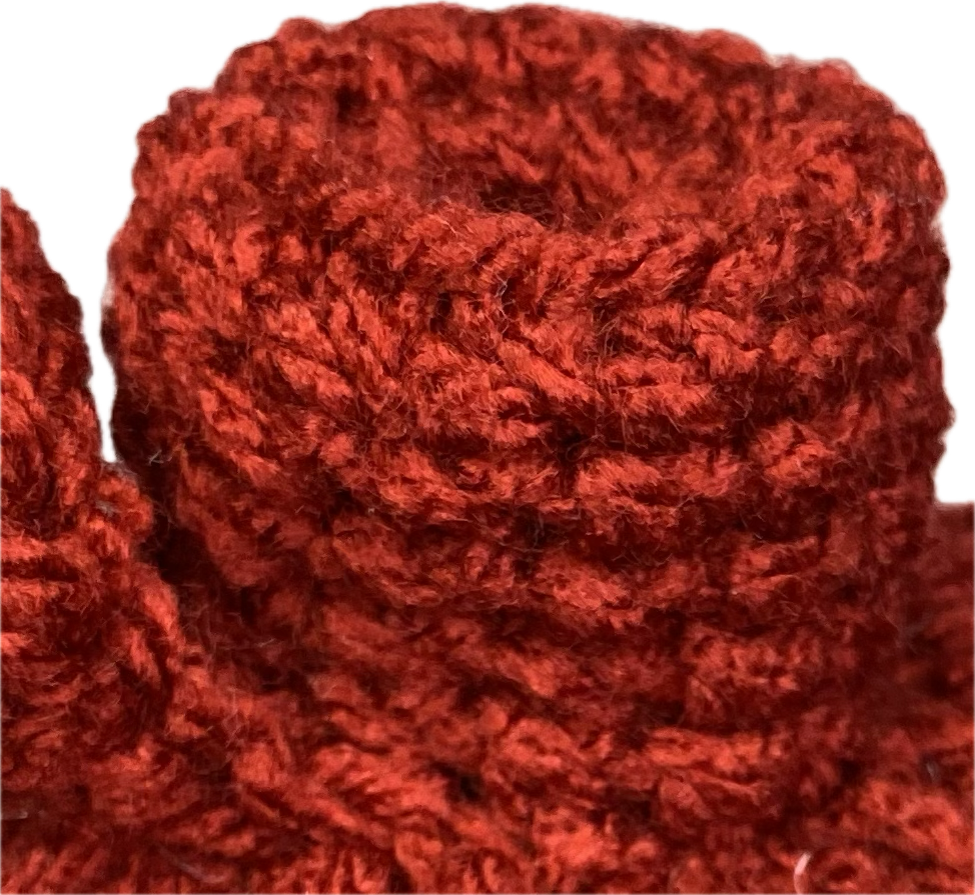
Stem
The stem for this Mouse Mod pumpkin is shorter and fatter than the original and is also the same color of the pumpkin. I have given two options below, however you are welcome to make yours any way you wish! If you would like a long slim stem, then please refer to the original pumpkin pattern.
The stem will be worked with the same hook size as your pumpkin as well as in a continuous round.
- R1: Leaving a 4-5″ tail, MR 6 SC (6)
- R2: INC around (12)
- R3: *SCx5, INC* around (14)
- R4: In BLO, HDC around (14)
- R5: In BLO, SC around (14)
- R6-7: Repeat R4 and R5 (2 rounds of 14)
- SlSt in next st and either FO and leave a long tail for sewing, or continue to tendrils.
- R1: Leaving a 4-5″ tail, MR 6 SC (6)
- R2: INC around (12)
- R3: *SCx5, INC* around (14)
- R4: In BLO, SC around (14)
- R5-8: SC around
- SlSt in next st and either FO and leave a long tail for sewing, or continue to tendrils.
Before sewing the stem onto the pumpkin, first stuff it lightly. Additionally, make sure to stuff around the MR tail for a secure hold. Once the stuffing is added, then pull the tail to indent the top of the stem. Carefully sew the stem onto the top of the pumpkin, making sure to cover the hole. Before completely closing, remember to pull the MR tail to the outside and add a bit more stuffing to the base for fullness. When the stem is securely closed, FO. Finally, pull the MR tail so that the top of the stem indents slightly, and use a needle to weave in the MR tail.
Tendrils
If you would like tendrils, then make them according to the original pattern.
Ears (make 2)
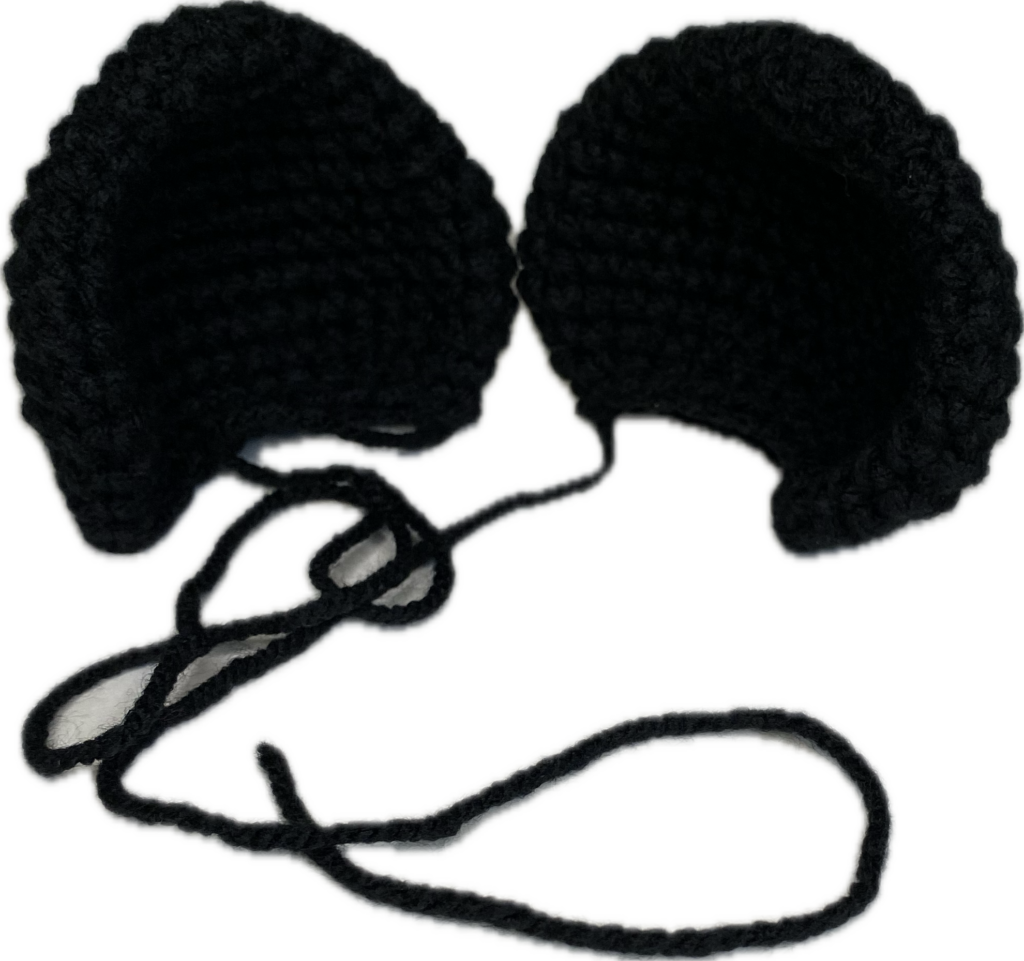
Work in a continuous round while using the Yarn Under/Yarn Over method.
R1: MR 8 sc (8)
R2: *SC, INC* around (12)
Work in the BLO from here on (or not! lol!! It’s totally up to you)
R3: *SCx2, INC around (16)
R4: *SCx3, INC* around (20)
R5: SCx2, INC, *SCx4, INC*x3 , SCx2 (24)
R6: *SCx3, INC* around (30)
R7: SCx2, INC, *SCx4, INC*x5 , SCx2 (36)
R8: *SCx5, INC* around (42)
R9-11: SC around (42)
R12: *SCx5, DEC* around (36)
R13: SCx2, DEC, *SCx4, DEC*x5 , SCx2 (30)
R14: *SCx3, DEC* around (24) FO and leave long tail for sewing.
Ear Inserts for softer yarns (make 2)
Follow the Ears pattern R1-8, however, do not work in the BLO. FO. Place these inside the ears to give more stability.
Assembly
If you made ear inserts, simply place them into each ear making sure they are flat. Then sew the ears onto the SC ridges of the pumpkin. Take a long needle or amigurumi stick and hold the ear where you want to attach it. Use the long tail to whip stitch the front of the ear first. Then pull the backside of the ear backwards to the next ridge and whip stitch it down. Repeat for the second ear.
Bow
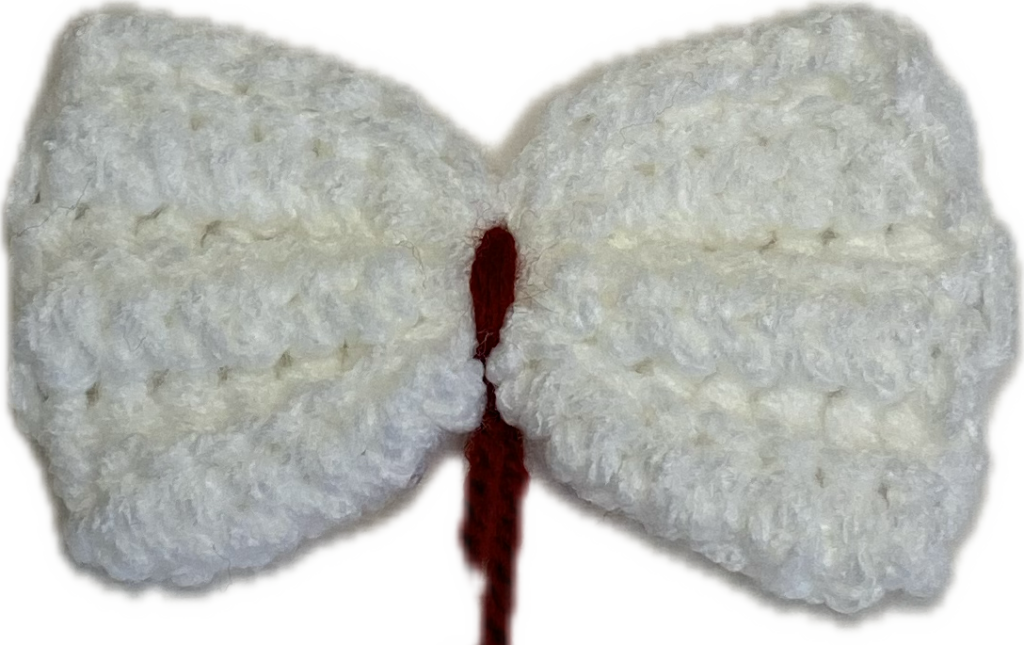
Make a sl knot and ch15.
In the second ch from hook and across ch: HDC in the BLO. Ch1, turn.
Repeat HDC rows, working in the BLO for a total of 6 rows. FO & weave in ends.
Take a length of yarn and wrap around the middle, forming the bow. Sew it onto the pumpkin.
A Pumpkin, a Mouse, and a Happy Friend
What started as a fun challenge from a friend turned into a fun fall project—and she absolutely loved her mice pumpkins! These cuties are proof that even a simple amigurumi pumpkin can become something magical with just a few playful tweaks. Whether you’re making them for yourself, a friend, or to sell at markets, I hope this free crochet pattern brings you as much joy as it did for me when I first stitched up those tiny mouse ears. Don’t forget to share your creations—I’d love to see how your pumpkins turn out!
💛 Love this pattern? Don’t forget to Pin it for later so you’ll always have this mice pumpkin crochet pattern handy for your fall makes!
Click here for all things PUMPKIN by me, the WhimZ B!
I haven’t made these yet but I just had to tell you how much I like your patterns and pictures, great job thanks so much.
Thank you so much! Your kind words are so appreciated 🙂
the part of the pattern for the pumpkin says how many to chain and how many rows but does t tell you what stitch to use. can you clarify please?
I apologize for the confusion!! The pumpkin part of the pattern is in a different post. I have now included the link with the specifications. Thank you so much for pointing this out!