Tiny Mittens- a free crocheted mitten pattern
Do you love tiny things? I always have. There’s just something so sweet about something that is extra little! I wrote this pattern last year. As with a lot of my patterns, it got stuffed away for another time… and NOW is that time!! Enjoy this free crocheted mitten pattern that would be perfect as ornaments, gift embellishments, car hangers, or even around a candy jar.
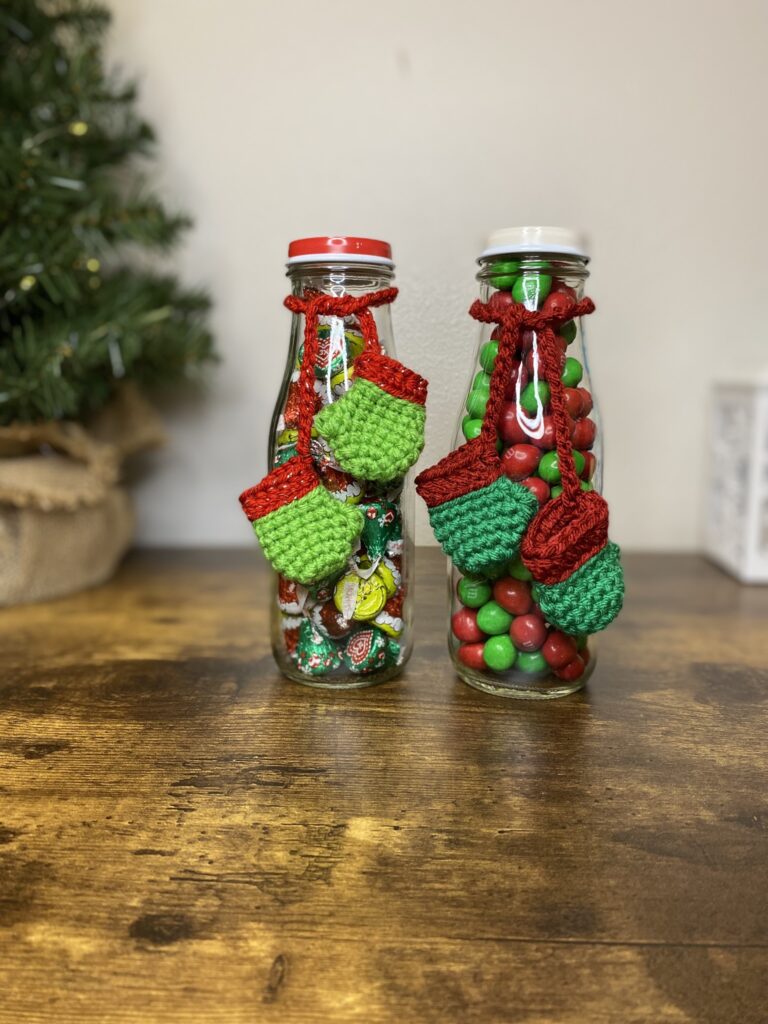
Supplies
- 4/med. weight yarn in colors for “mitten” and “cuff”
- Of course you can use all one color or use eyelash or “furry” yarn for the cuff
- 3.75mm hook (use appropriate hook for your yarn choice)
- Basic crochet supplies
About this pattern
Pattern is worked in the round. Use a stitch marker at the beginning of each round. Use the invisible decrease. The color change is made by completing the stitch before the color change with the new color. If you want a TINY TINY mitten, use the Yarn Under method and the smallest hook size you can.
Special stitches:
3DC Bobble (referred to in the pattern as “bobble”) Click here for a helpful video
The pattern
R1: with mitten: MR 10SC (10)
R2: (SC, INC)x5 (15)
R3-4: SC around (2 rnds of 15)
R5: bobble, SCx14 (15)
R6: DEC, SCx6, DEC, SCx5 (13)
R7: SC around (13)
R8: SC over to the st above the bobble. CC to cuff and move st marker. In BLO, loosely SlSt around (13) FO mitten.
*If using eyelash/tinsel yarn for the cuff, R7 will be HDC in the BLO instead of SlSt . R8 will not be in the BLO.
R9: In BLO, HDC around. SlSt into the 1st st (13)

If only making one mitten:
Ch15 (or more if not using an ornament hanger). SlSt into the same st. FO and weave in end.
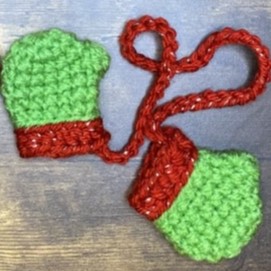
If making a pair of mittens:
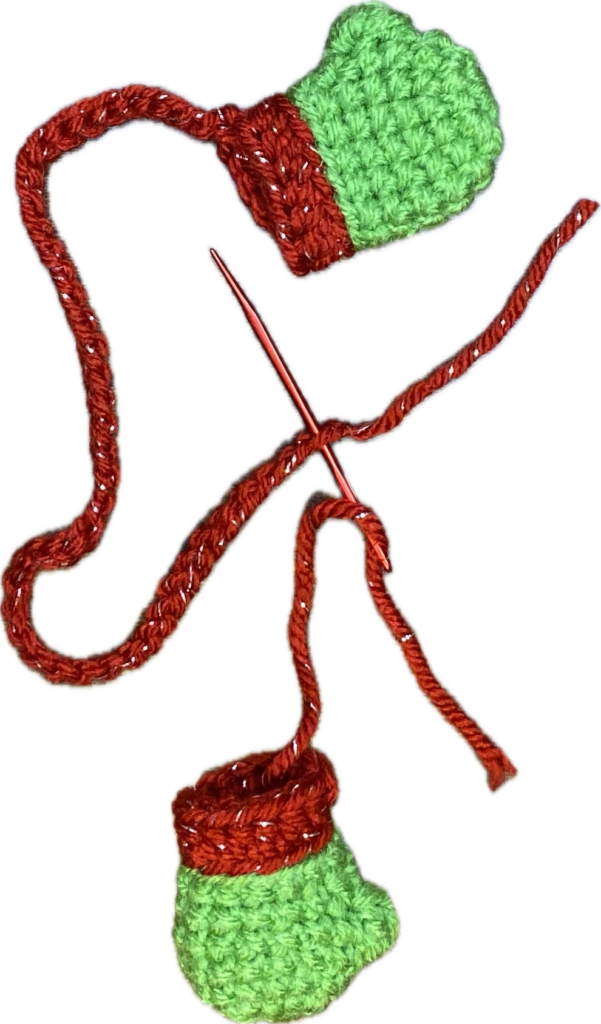
Ch 35 – 50. Trim end and pull tight against the Ch. Set 1st mitten aside. Make 2nd mitten. After SlSt, trim yarn and using a needle, pull tail to the inside of the mitten. Then thread it through the end ch of the 1st mitten. Pull ch down into the 2nd mitten, Tie the ends together and trim. Stuff into the mitten.
I hope you have enjoyed this free crocheted mitten pattern for Tiny Mittens! Hopefully you will be make several and tag me on social media so that I can see your creations.
