Easter Doorhanger on a Budget
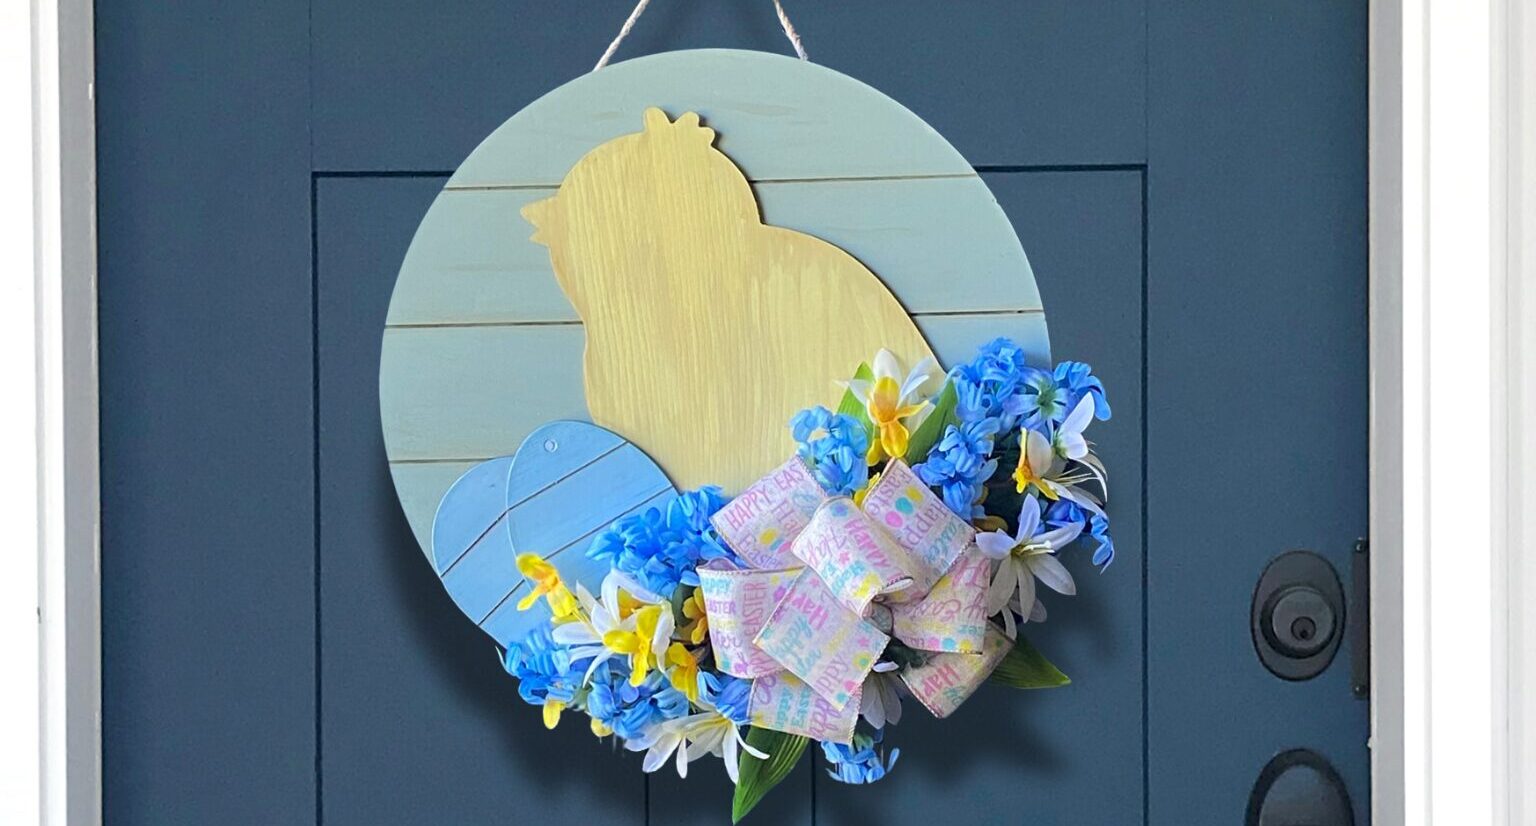
When I started pulling out my spring decorations this year, I realized something was missing—an Easter doorhanger! I wanted something festive and inviting, but I didn’t want to spend a fortune. So, I grabbed a few affordable supplies from Walmart and the Dollar Tree and got to work. The result? A gorgeous, weathered, country-style creation that fits perfectly with my theme of an Easter Doorhanger on a Budget. If you’re looking for a thrifty way to add some spring charm to your front door, this DIY is for you!
My Supplies
Every doorhanger starts with a good base. I couldn’t find one large enough at Dollar Tree, so I headed to Walmart and found a piece I loved—this ended up being my most expensive purchase.
I fell in love with the look of it right away. It reminded me of weathered wood boards from an old shed or fence, which became the inspiration for the rest of the design. In my mind, I could already see it painted sage green with antiquing gel for that rustic, muted look I was going for.
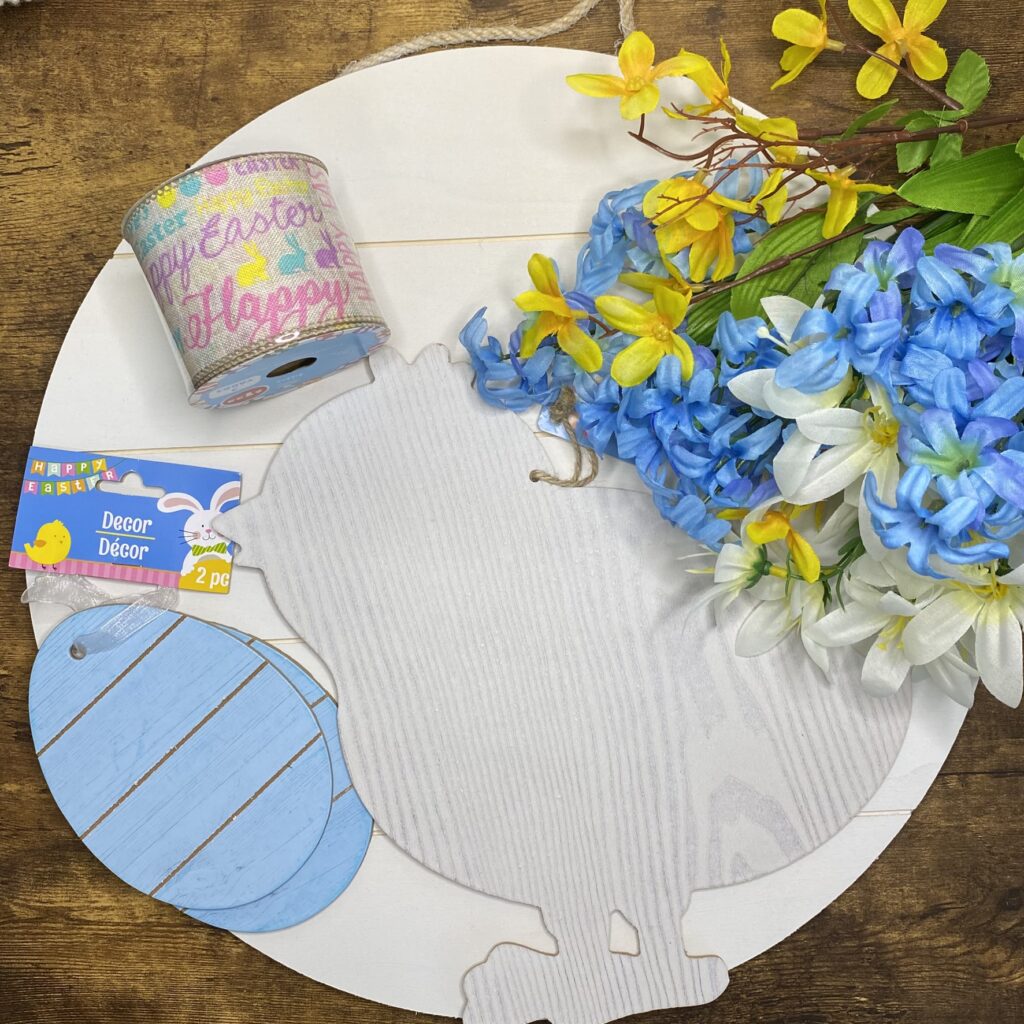
Next came the fun part: a little treasure hunt at Dollar Tree! I found a wooden chick, a couple of paper-covered eggs, the perfect burlap Easter ribbon, and several spring florals to build up the design.
(By the way, I am not affiliated with Walmart of the Dollar Tree)
Steps
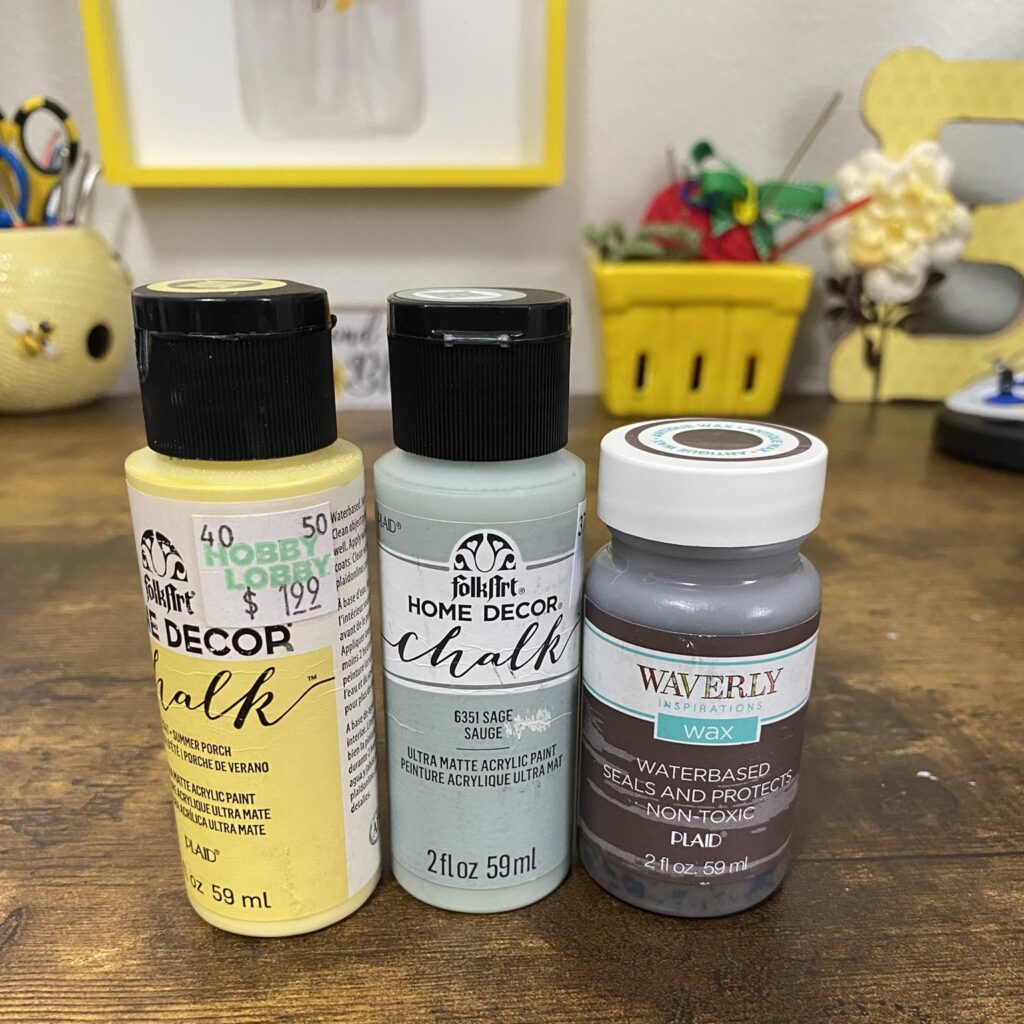
The first step in creating any doorhanger—especially one for outdoor use—is protecting the wood. I sprayed the base with two coats of white primer, front and back, to seal it well. I then painted it with chalk paint. Lastly I accented the edges and the grooves with antiquing wax.
The wooden chick had a hole at the top for hanging. To fill it, I placed a small piece of masking tape on the front and filled the hole from the back with hot glue (here is a short video.) Once dry, I painted it front and back with chalk paint. Lastly, I rubbed on some antiquing wax.
The eggs were already a perfect color thanks to the paper covering. I filled the hanging holes with hot glue and tried to color match one of the blues. It wasn’t a perfect match, but from a distance, it blends in just fine! I used antiquing gel in the grooves and finished both the chick and eggs with chalk paint varnish to seal them.
Once everything was painted and dry, I adhered the chick and eggs onto the base with wood glue. I layered the pieces—first the chick and one egg, then the second egg slightly overlapping them. I used a few books as weights to keep everything in place while it dried.
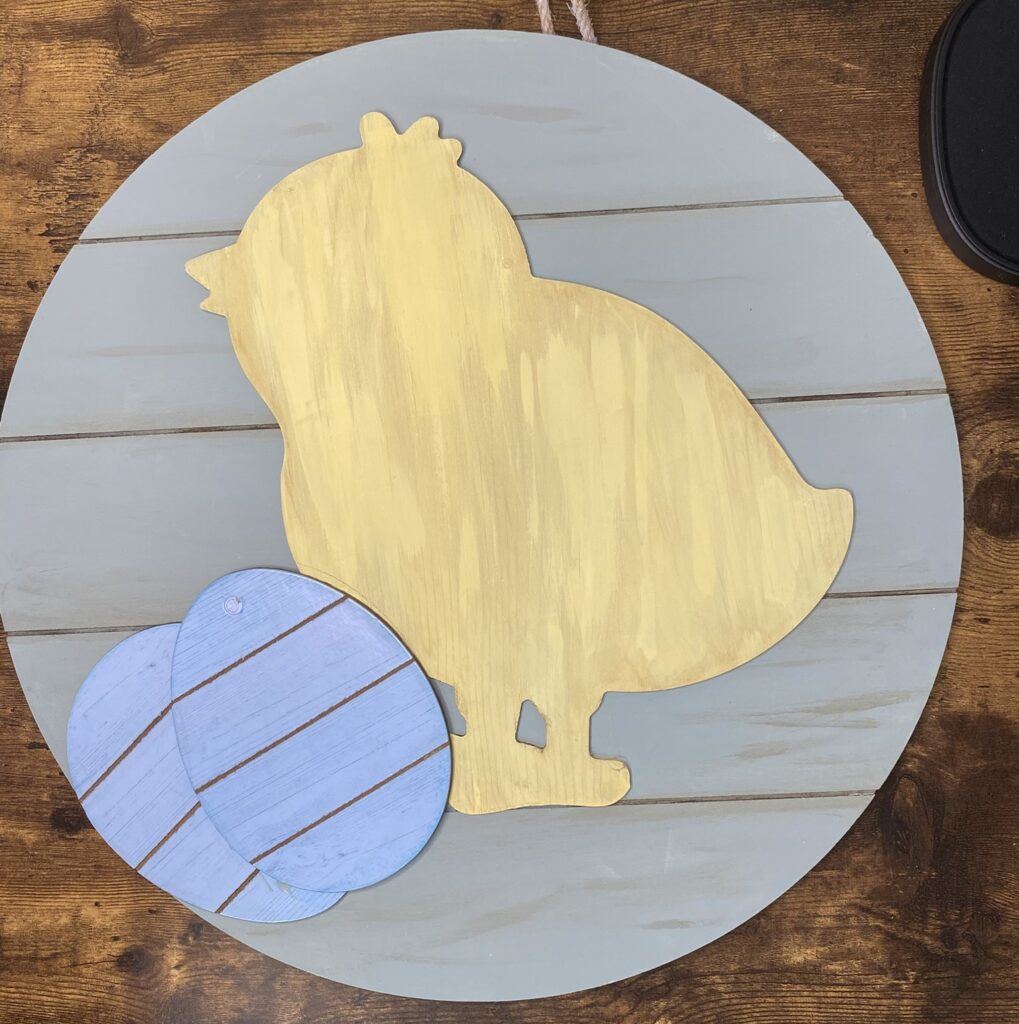
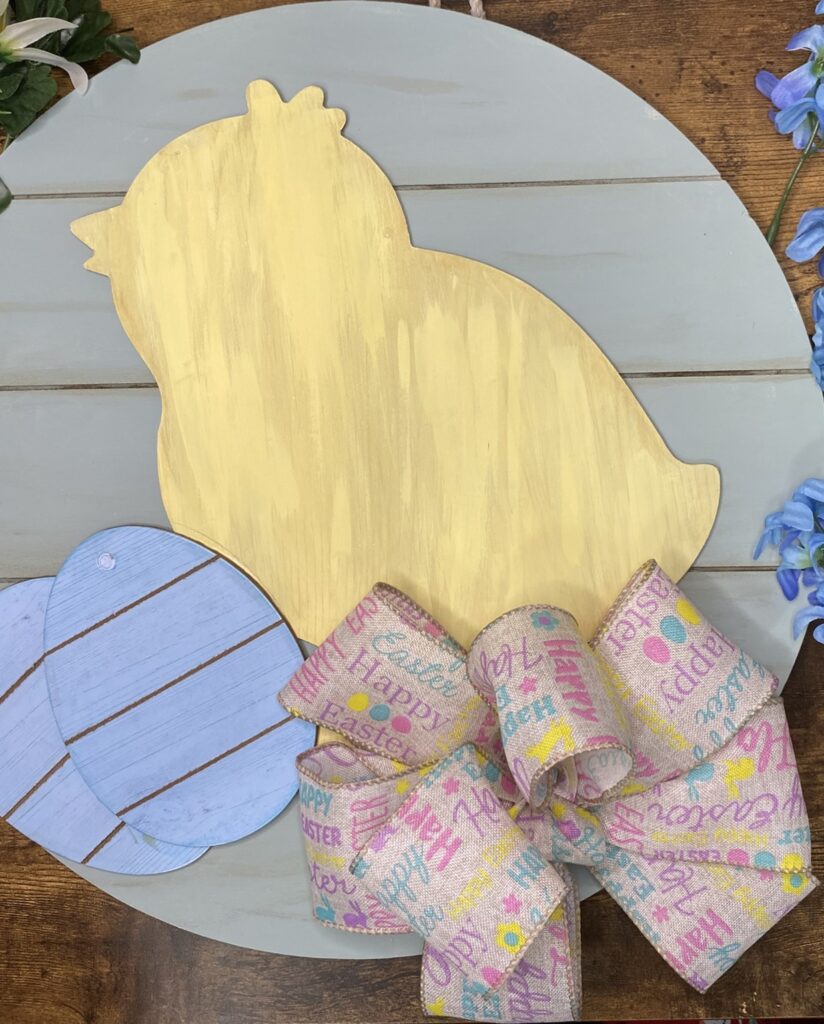
The final step was adding the bow and florals. I love to use this video to help me make the bow. Once It was made and glued in place using hot glue, I then added the flowers around it.
Thrifty can be Beautiful
It just goes to show—you don’t need a big budget to create something beautiful for your home. With a little creativity, some thrifty finds, and a dash of seasonal charm, you can bring the look of spring to your doorstep. This Easter Doorhanger on a Budget is proof that festive decor doesn’t have to be expensive to be eye-catching. I hope it inspires you to make your own and celebrate the season in crafty, budget-friendly style!

Click HERE for more Easter Ideas
Find more doorhanger ideas HERE

